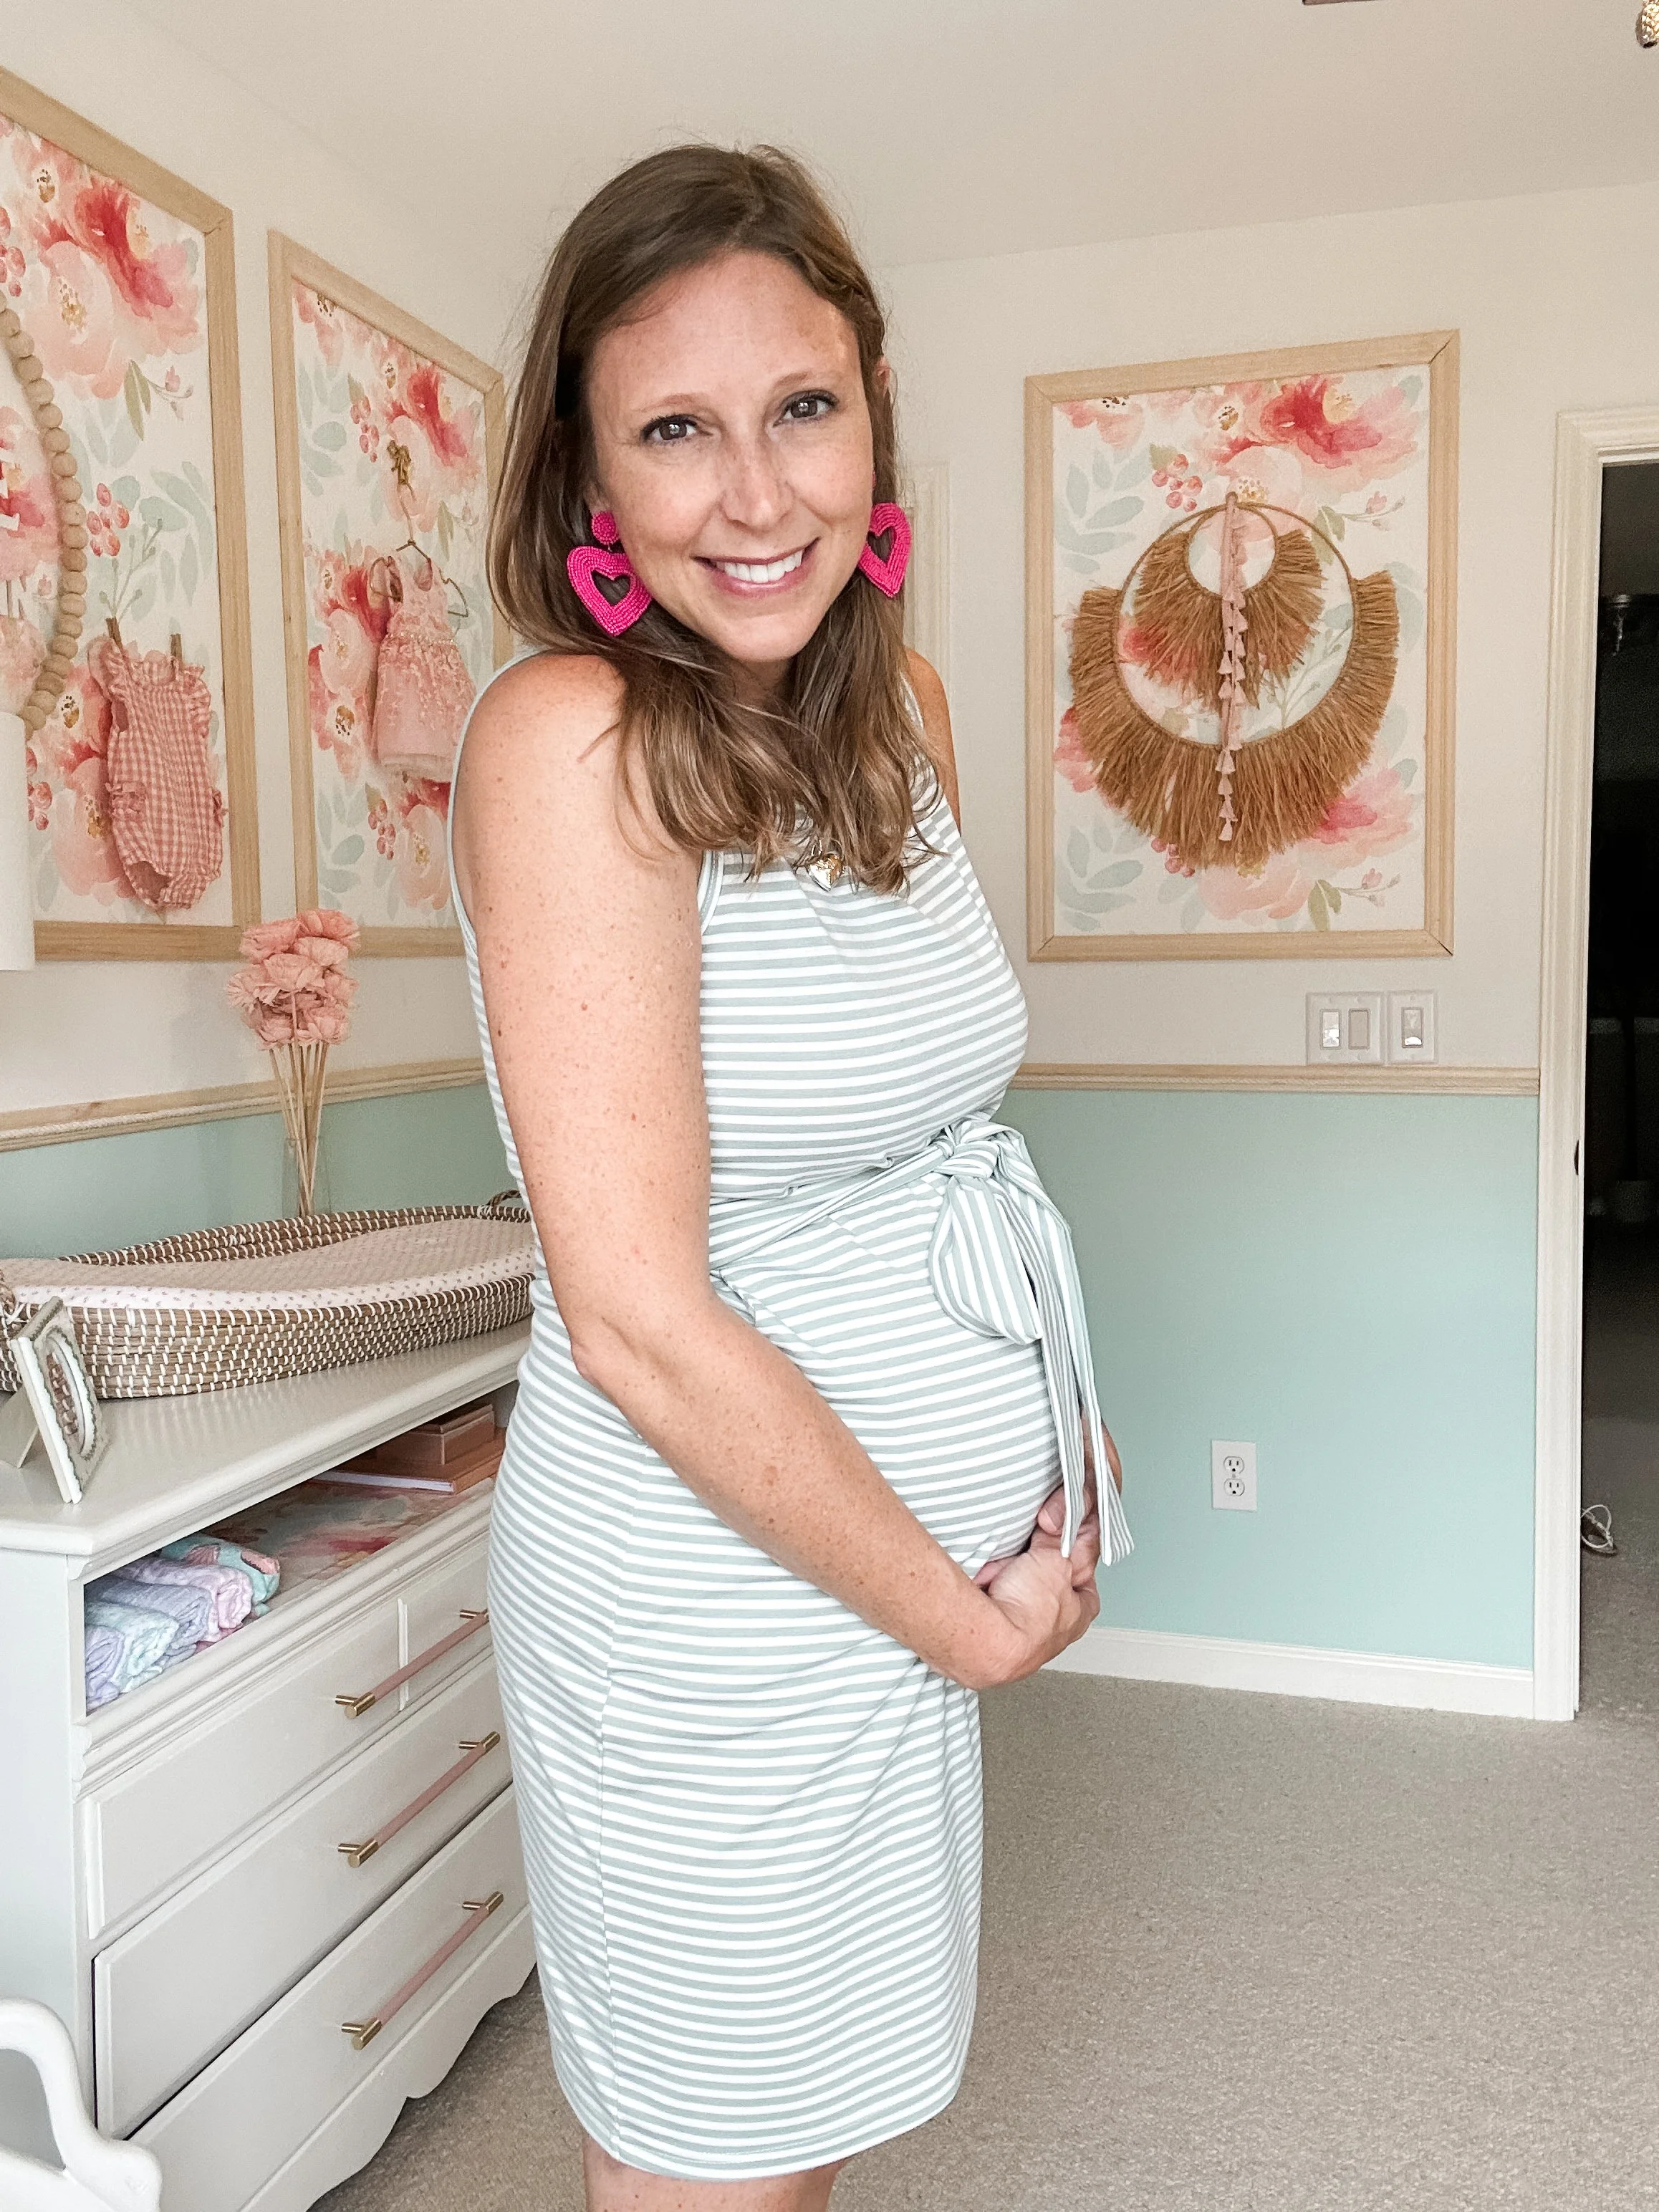
We did it!

Eight weeks ago, this room was my office.
What an incredible eight-week journey this has been. From formalizing the Vision for this space to setting our budget and rolling up my sleeves to do some pretty awesome furniture glow ups, I enjoyed every minute of transforming my home office into a French Coastal nursery for Baby Girl!
Did We Meet Our Goals?
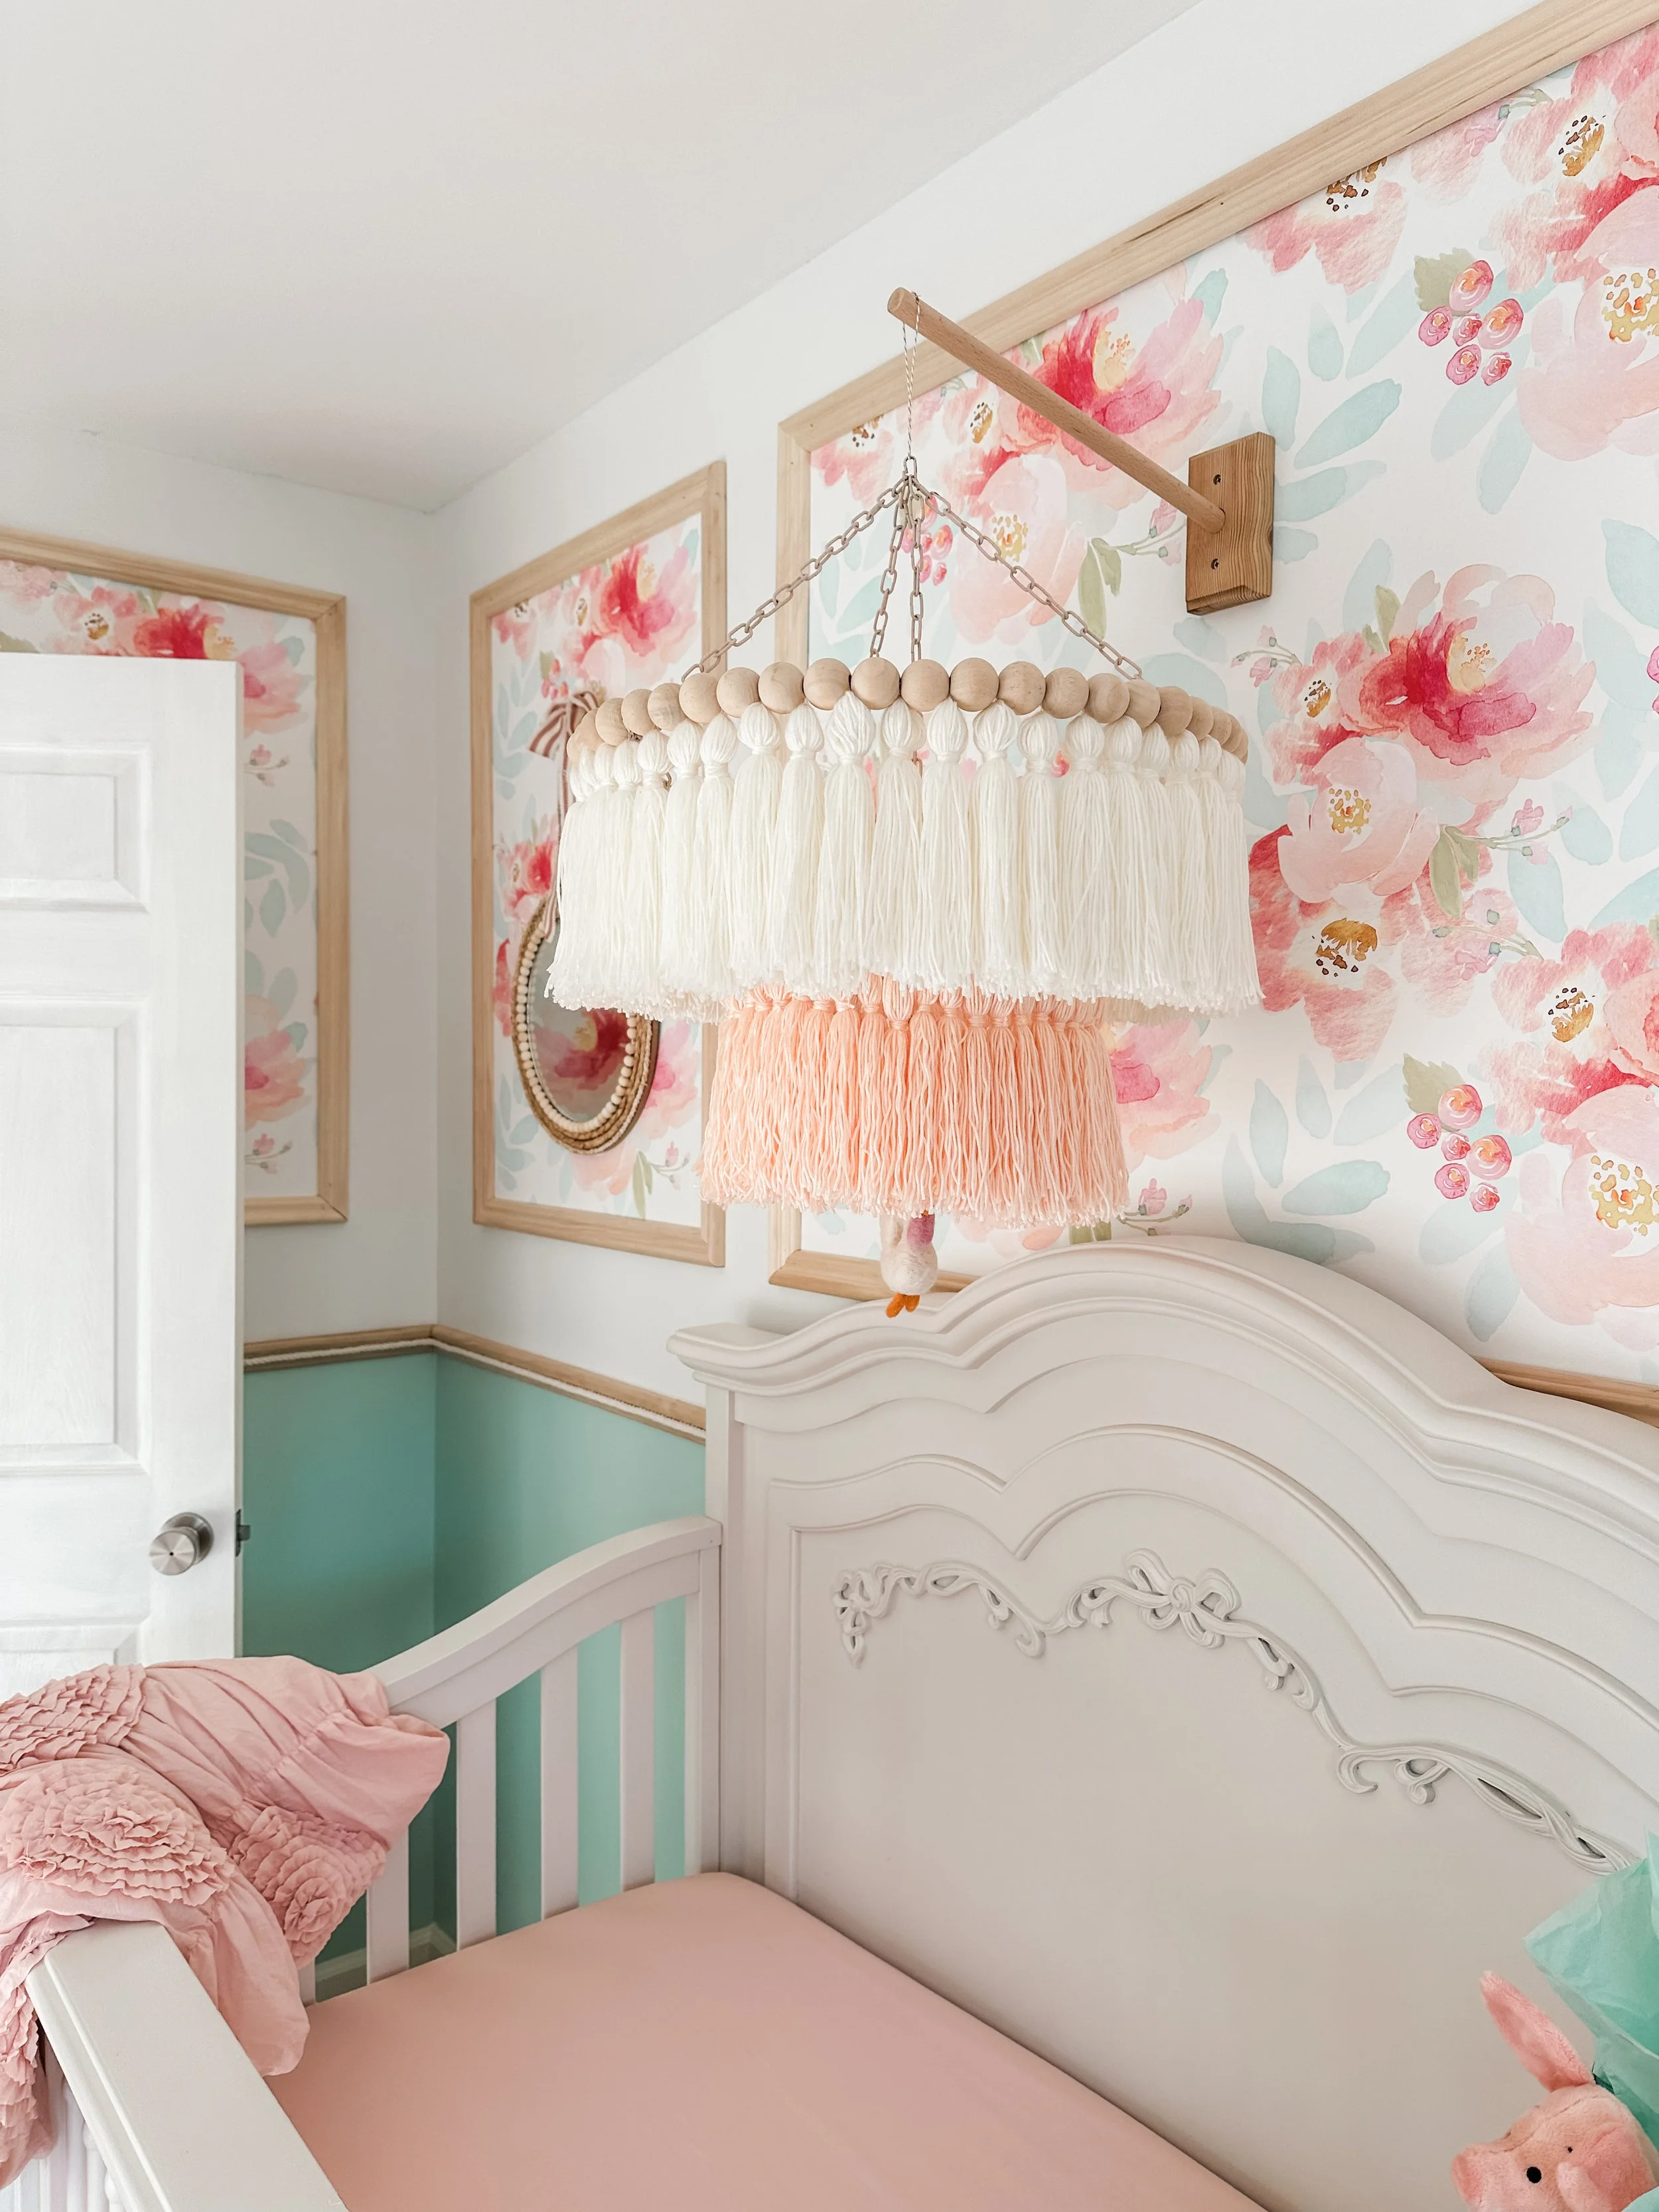
Goal 1: Create a French Coastal nursery with a touch of boho
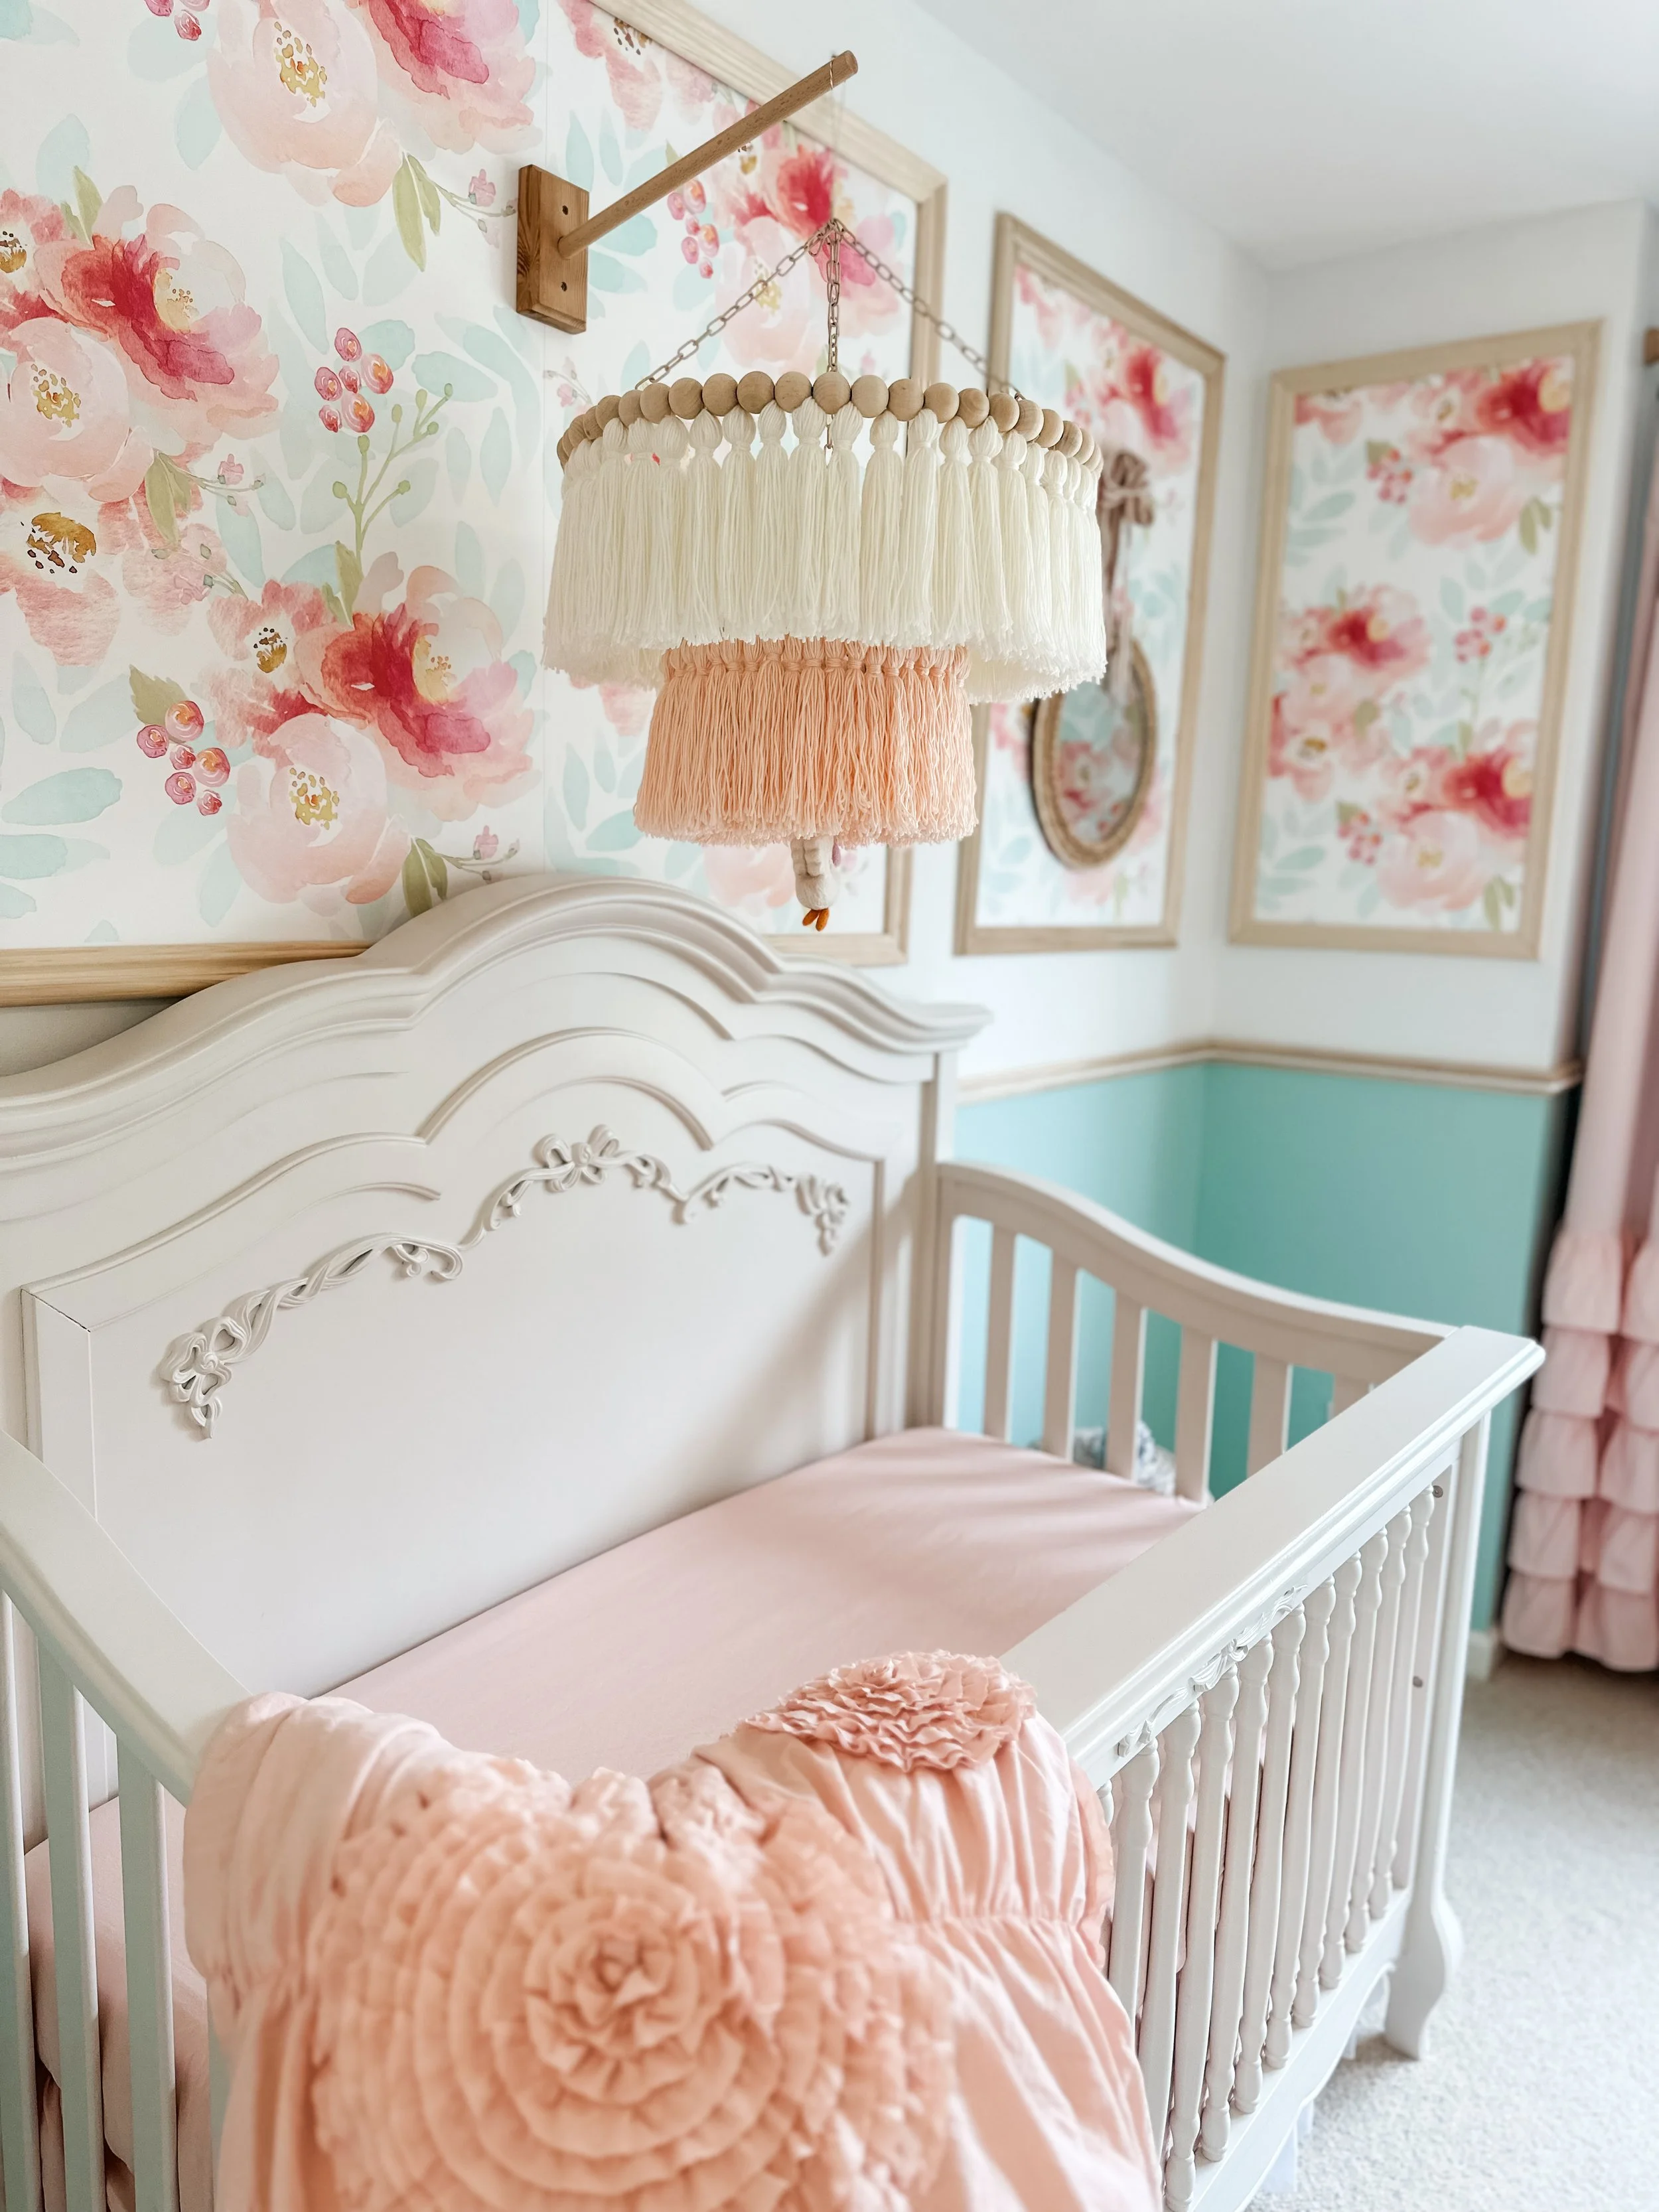
I wasn’t exactly sure how I was going to tie each of these distinct design motifs together, but I knew it was possible!
Picture frame moulding and delicate detailing on the all- white furniture gave this space a vintage feel, while the pinks, greens & blues in the watercolor wallpaper created the perfect coastal color palette.
The tasseled crib mobile and natural wood elements found in both the unfinished chair rail and the wall decor provided the touch of boho, bringing to mind our favorite beaches in Mexico that we can’t wait to share with Baby Girl someday!
Goal 2: Stay within our budget
Can you spot the one item that was in my home office?
As this is our first baby, we started with absolutely nothing for the nursery and needed pretty much everything.
Considering a new crib from Pottery Barn Kids can run a good $1300 retail, I felt as though a $2000 all-in budget (from furniture to Lowe’s supplies to accessories) was ambitious, but not impossible.
Our “big ticket” item was the wall treatment (paint, chair rail & wallpaper) that formed the basis for the room design. For this 11’ x 12’ space, we needed seventeen 8 foot chair rail trim boards and twelve 2x3 wallpaper panels that took up about 1/3 of our total budget (For full supply list, check out my Week 5 post.)
I also made about $500 selling my office furniture online which we put toward the nursery fund. With some incredible Marketplace scores of my own and a lot of sweat equity, I am happy to report that we stayed right with in our budget without having to compromise on style.
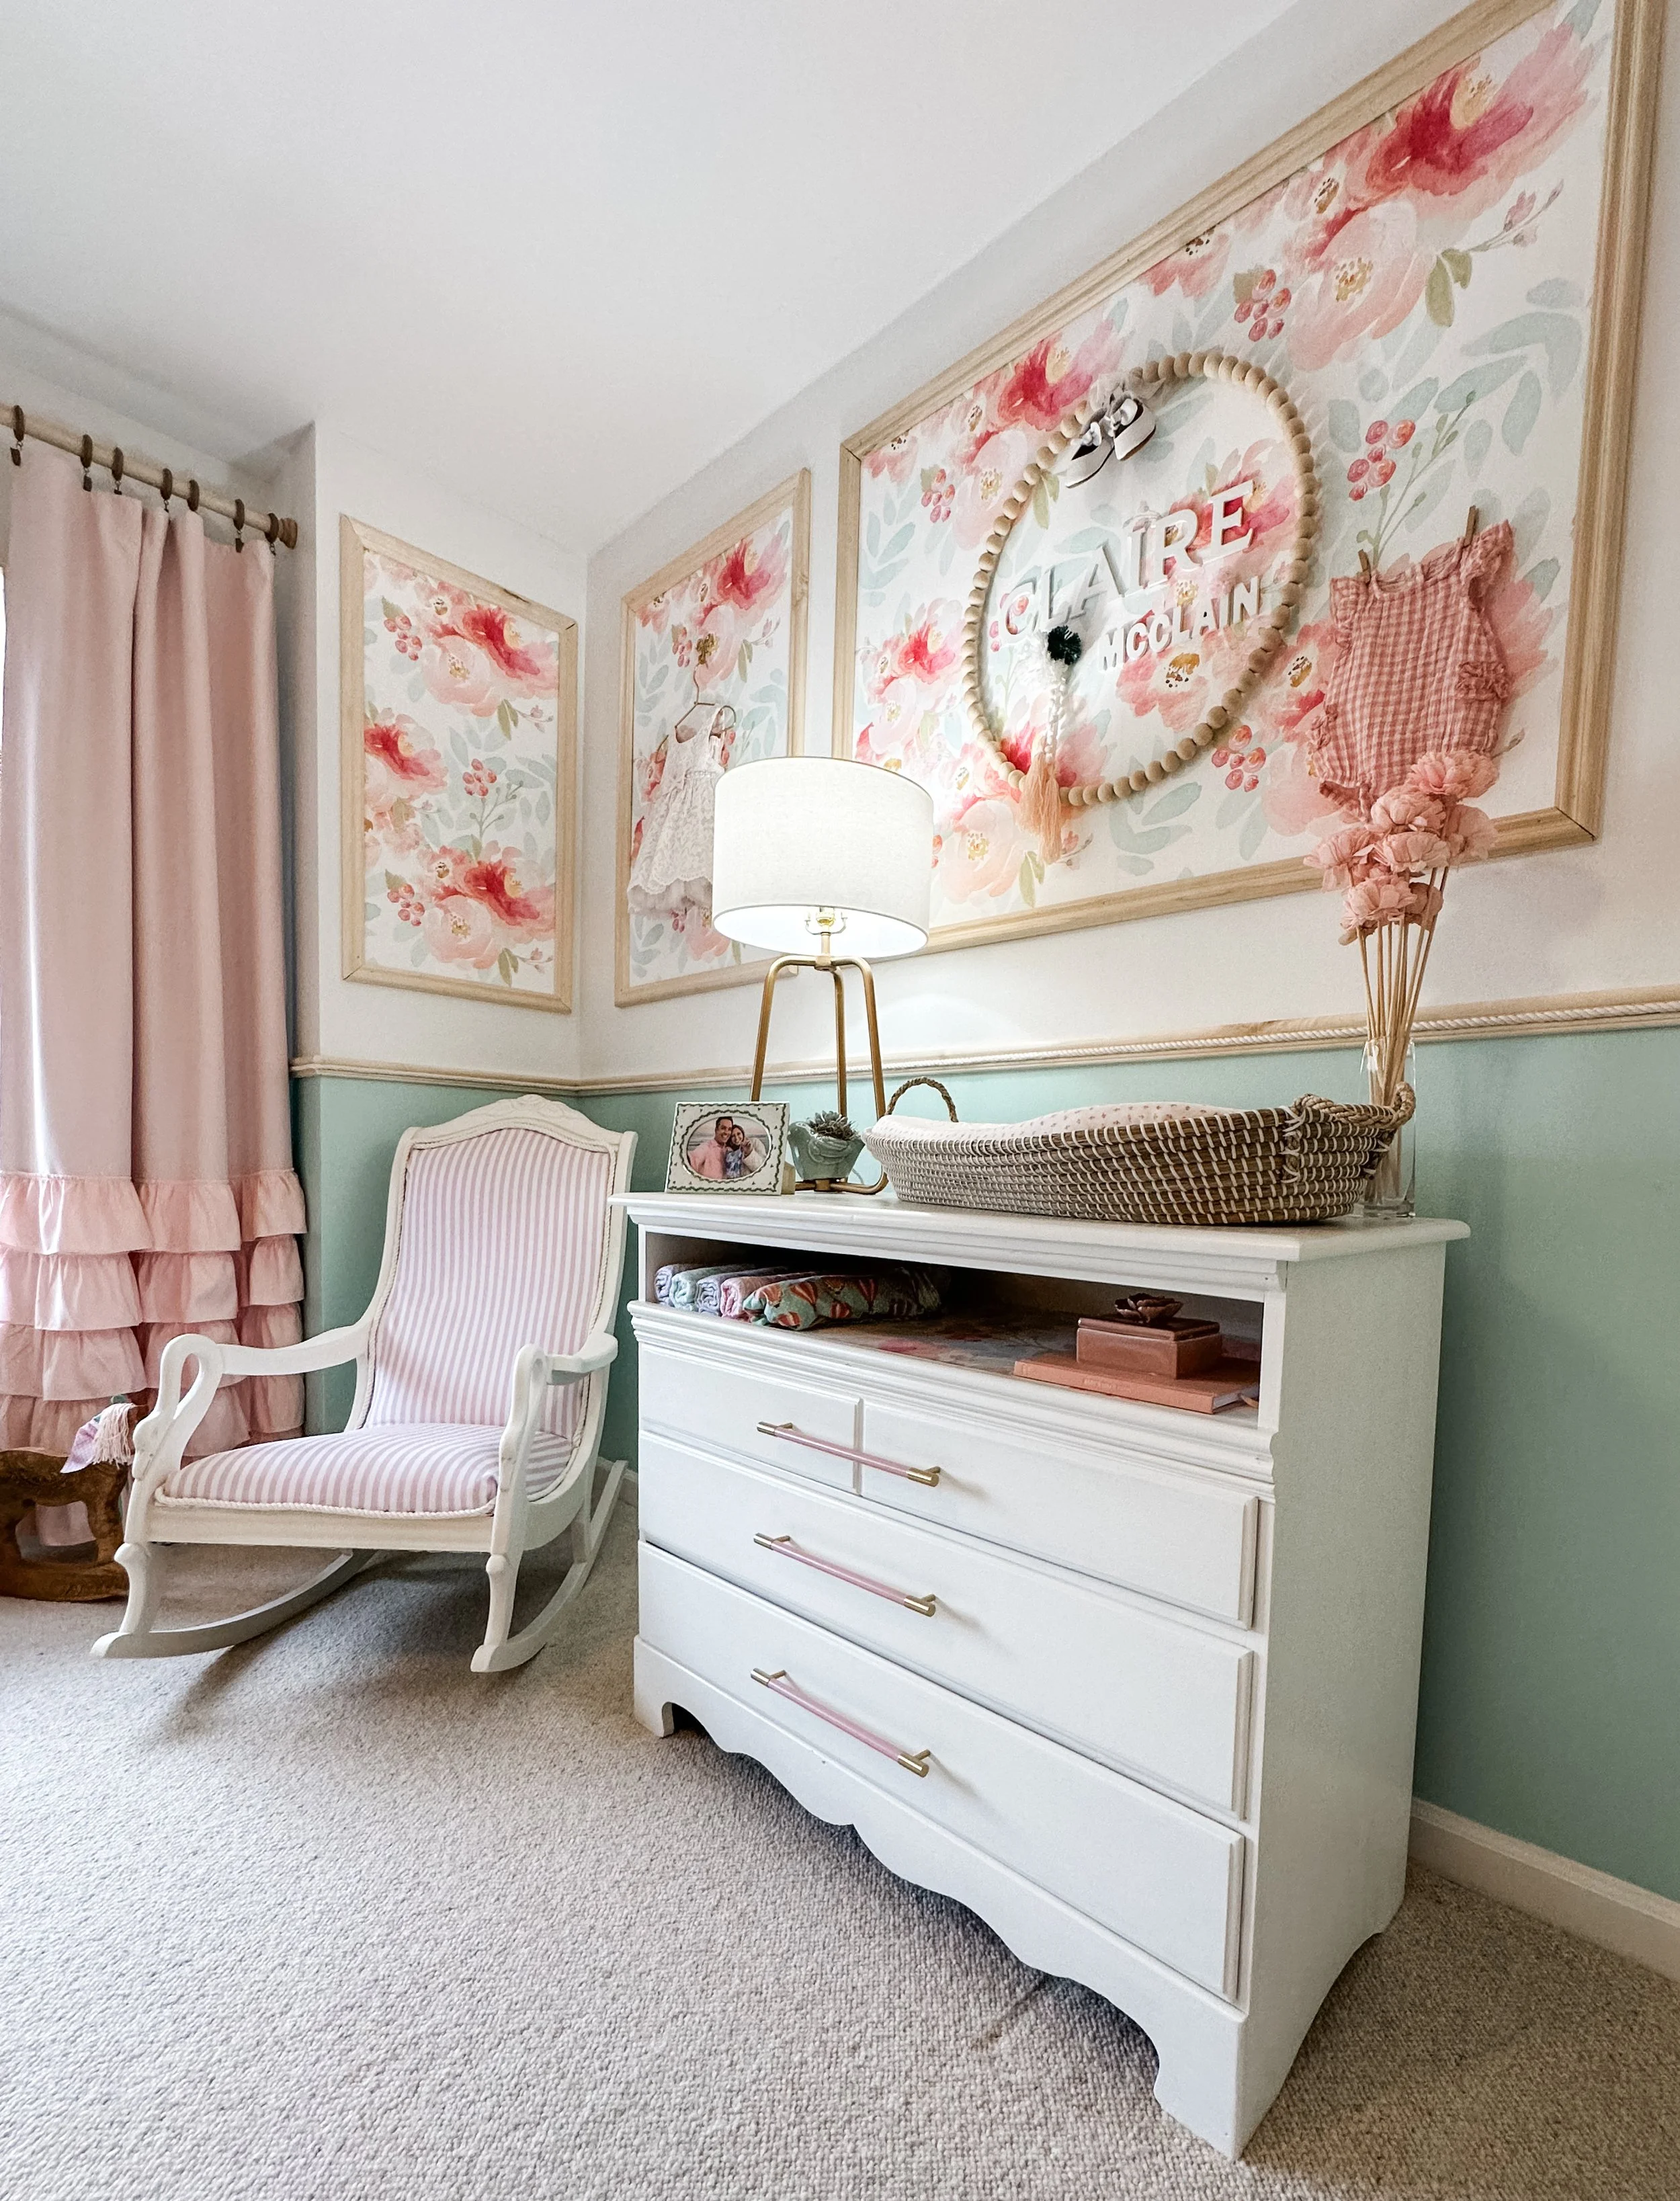
Goal 3: Reuse Where we Can
We scored big with our thrifted furniture finds, including this gorgeous crib, which helped us stay right within our nursery budget for this project.
My personal goal was to thrift or DIY 90% of the items for the nursery for several reasons:
To help us stay within our budget
To reduce our carbon footprint
To flex my creative muscles
I was lucky enough to score several items on Marketplace that were exact matches to items on my Wish List, including a crib that retails for $500 that I scored for $250 and a seagrass changing basket that retails for $130 that I got for $30. Well worth the drive time to pick these items up at a fraction of the price!
The other pieces I found needed some love and were likely bound for the landfill, but with a little TLC and some creativity, I was able to make them shine again!
Furniture Flips
Check out these incredible before & afters!

Vintage gooseneck rocking chair, one of my many Marketplace scores!
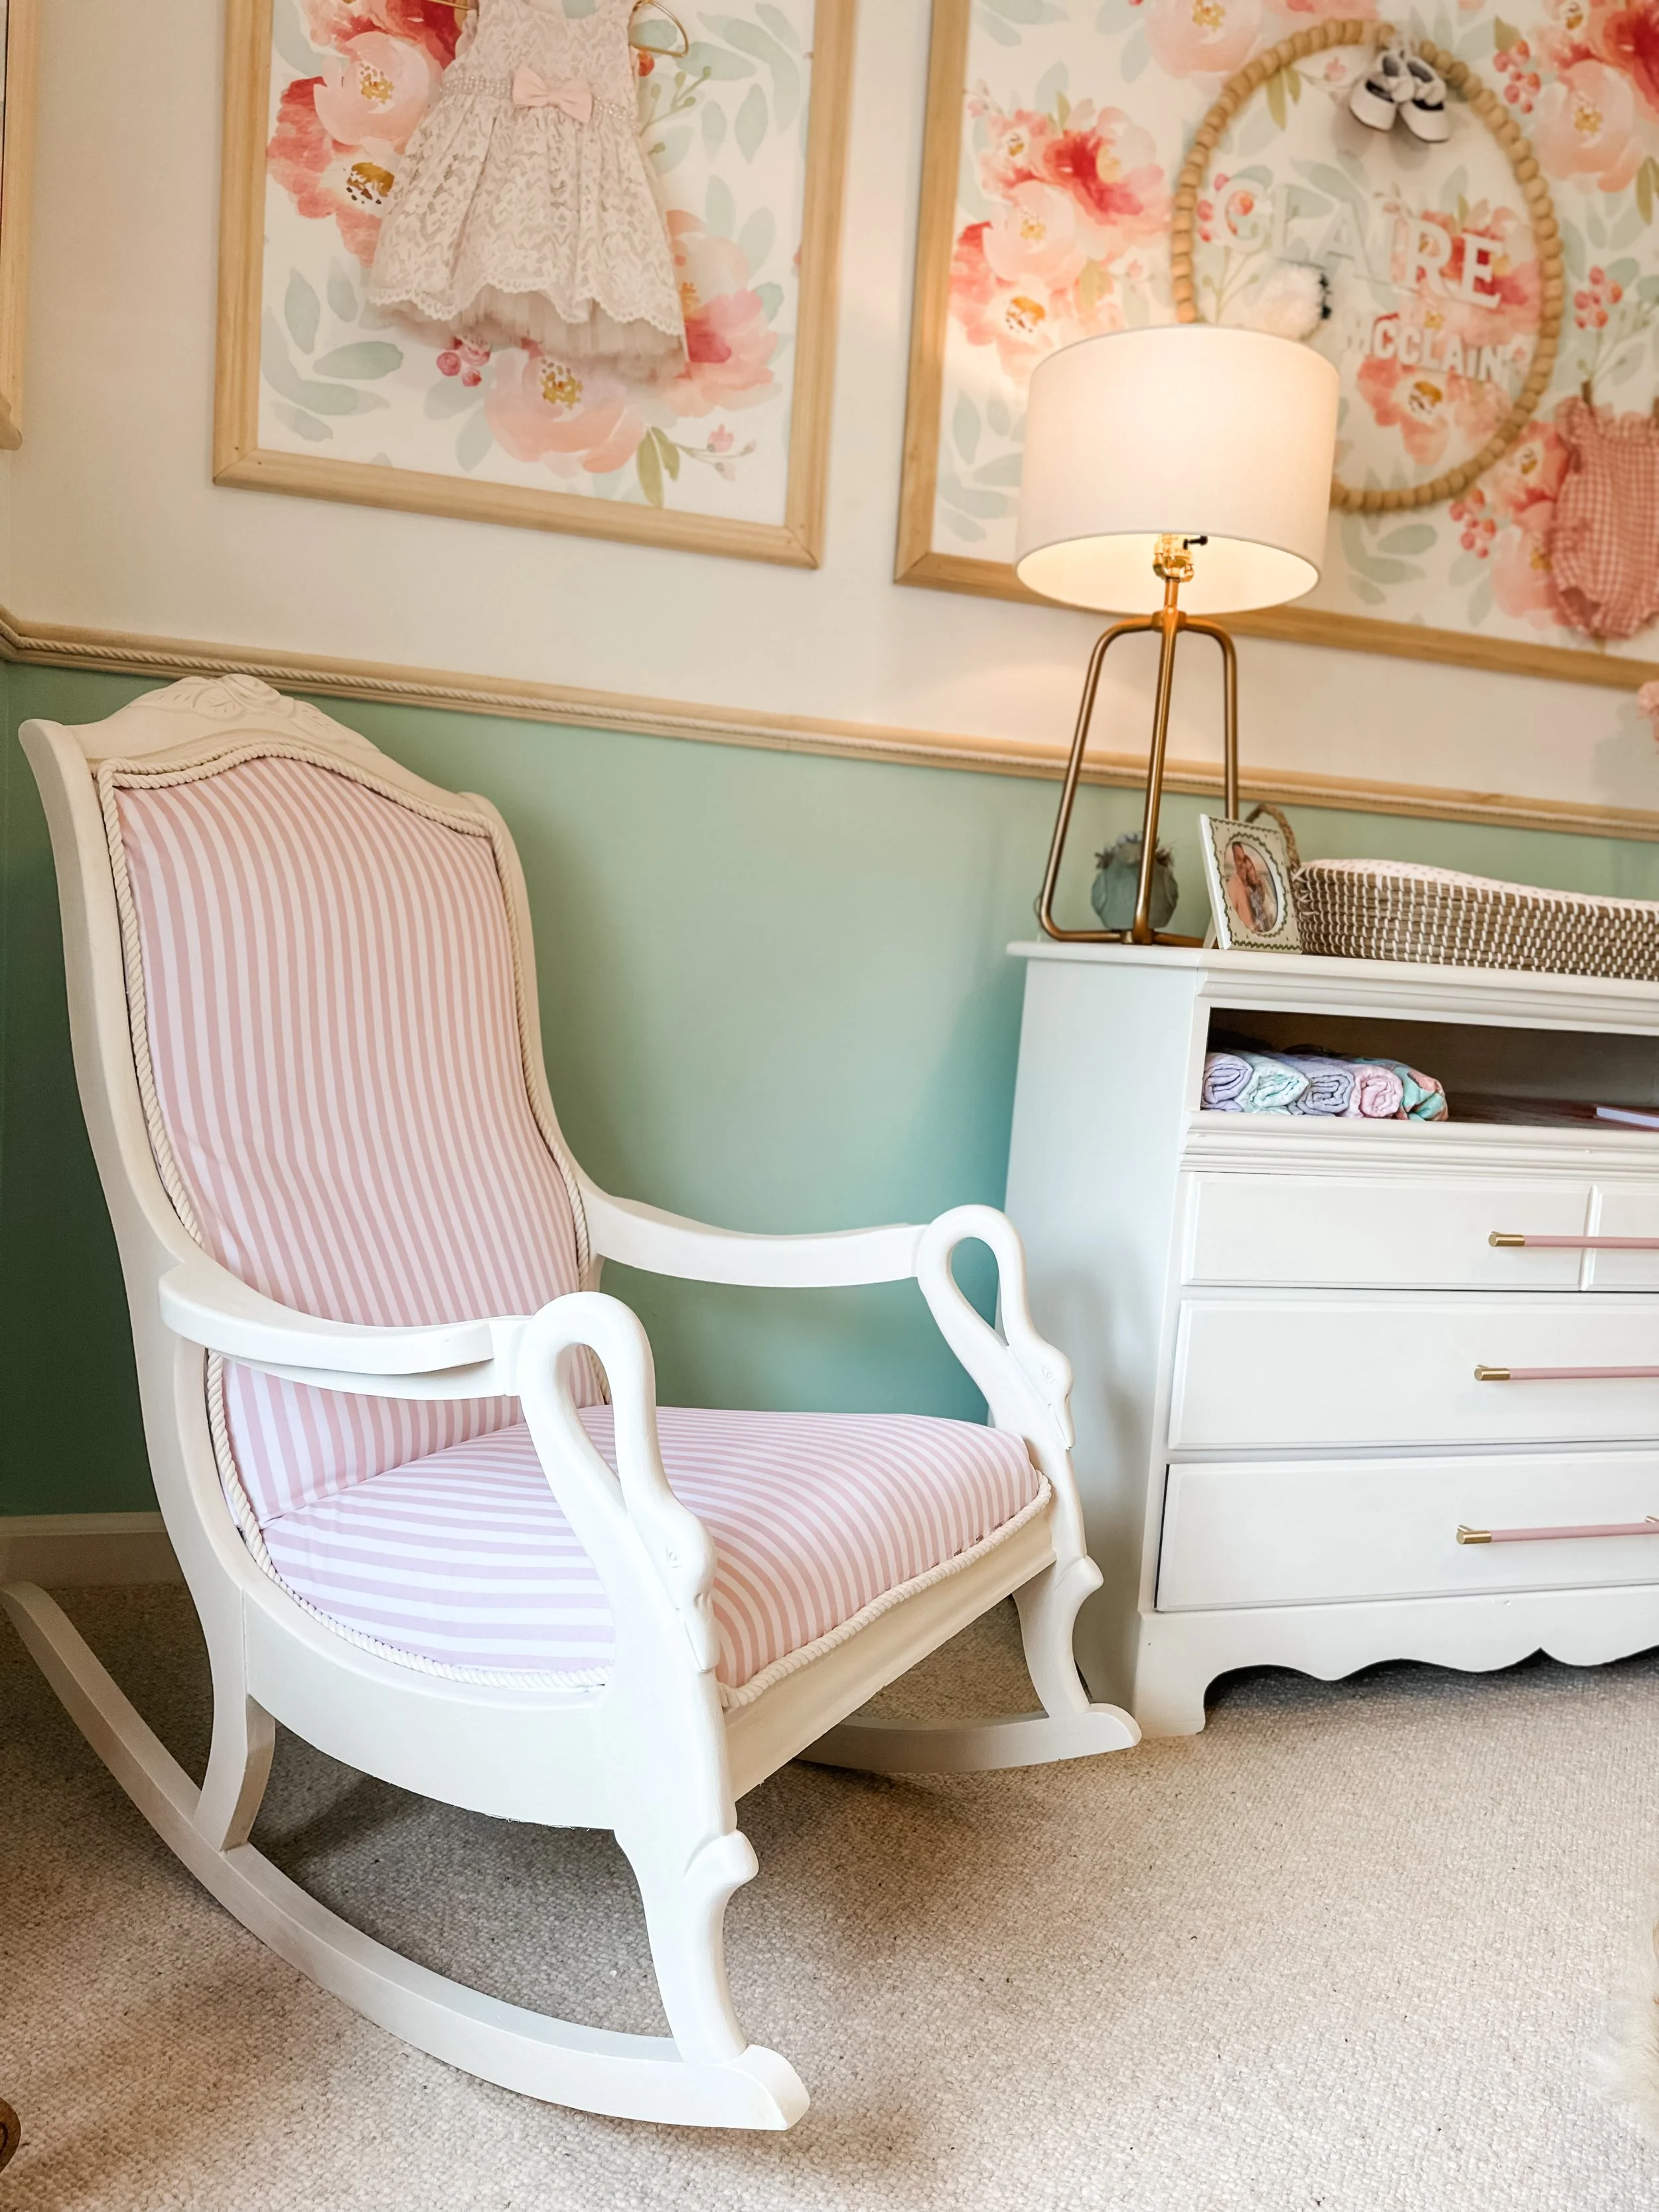
Now the perfect spot for rocking baby girl to sleep each night

Free hutch we found on FBMP
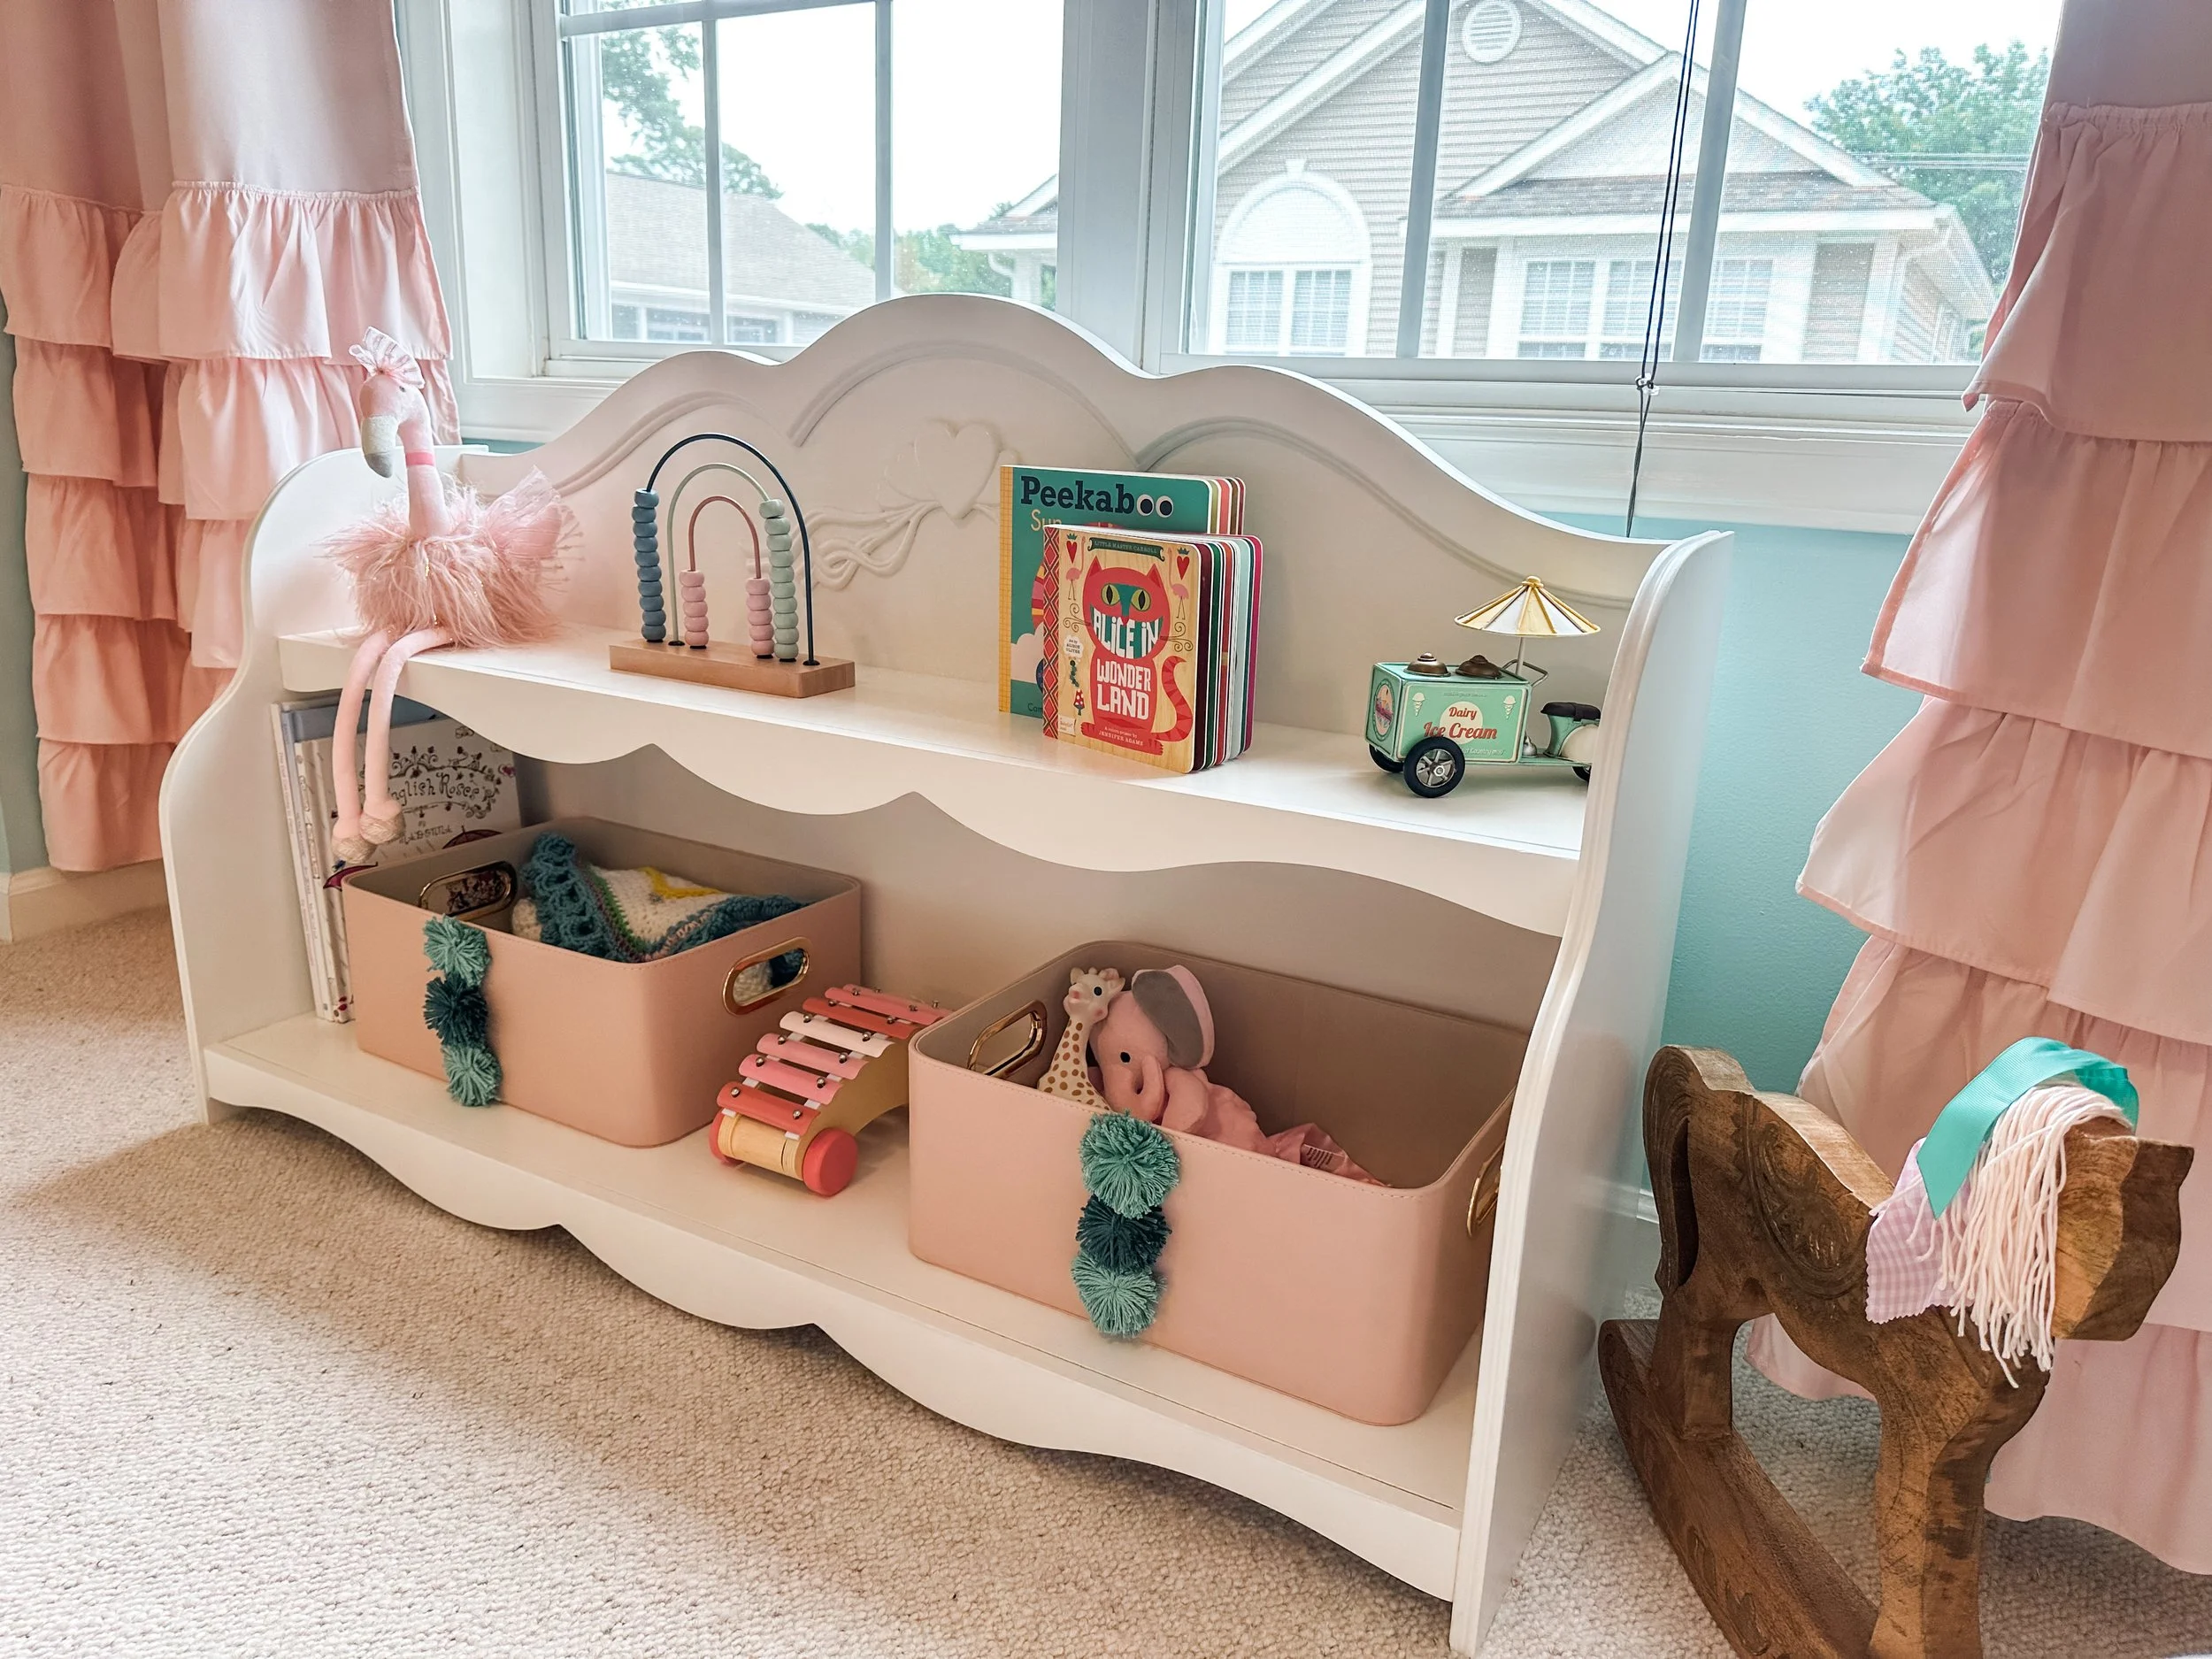
Now a perfect little book & toy nook for Baby Girl

Sad Little Dresser on FBMP
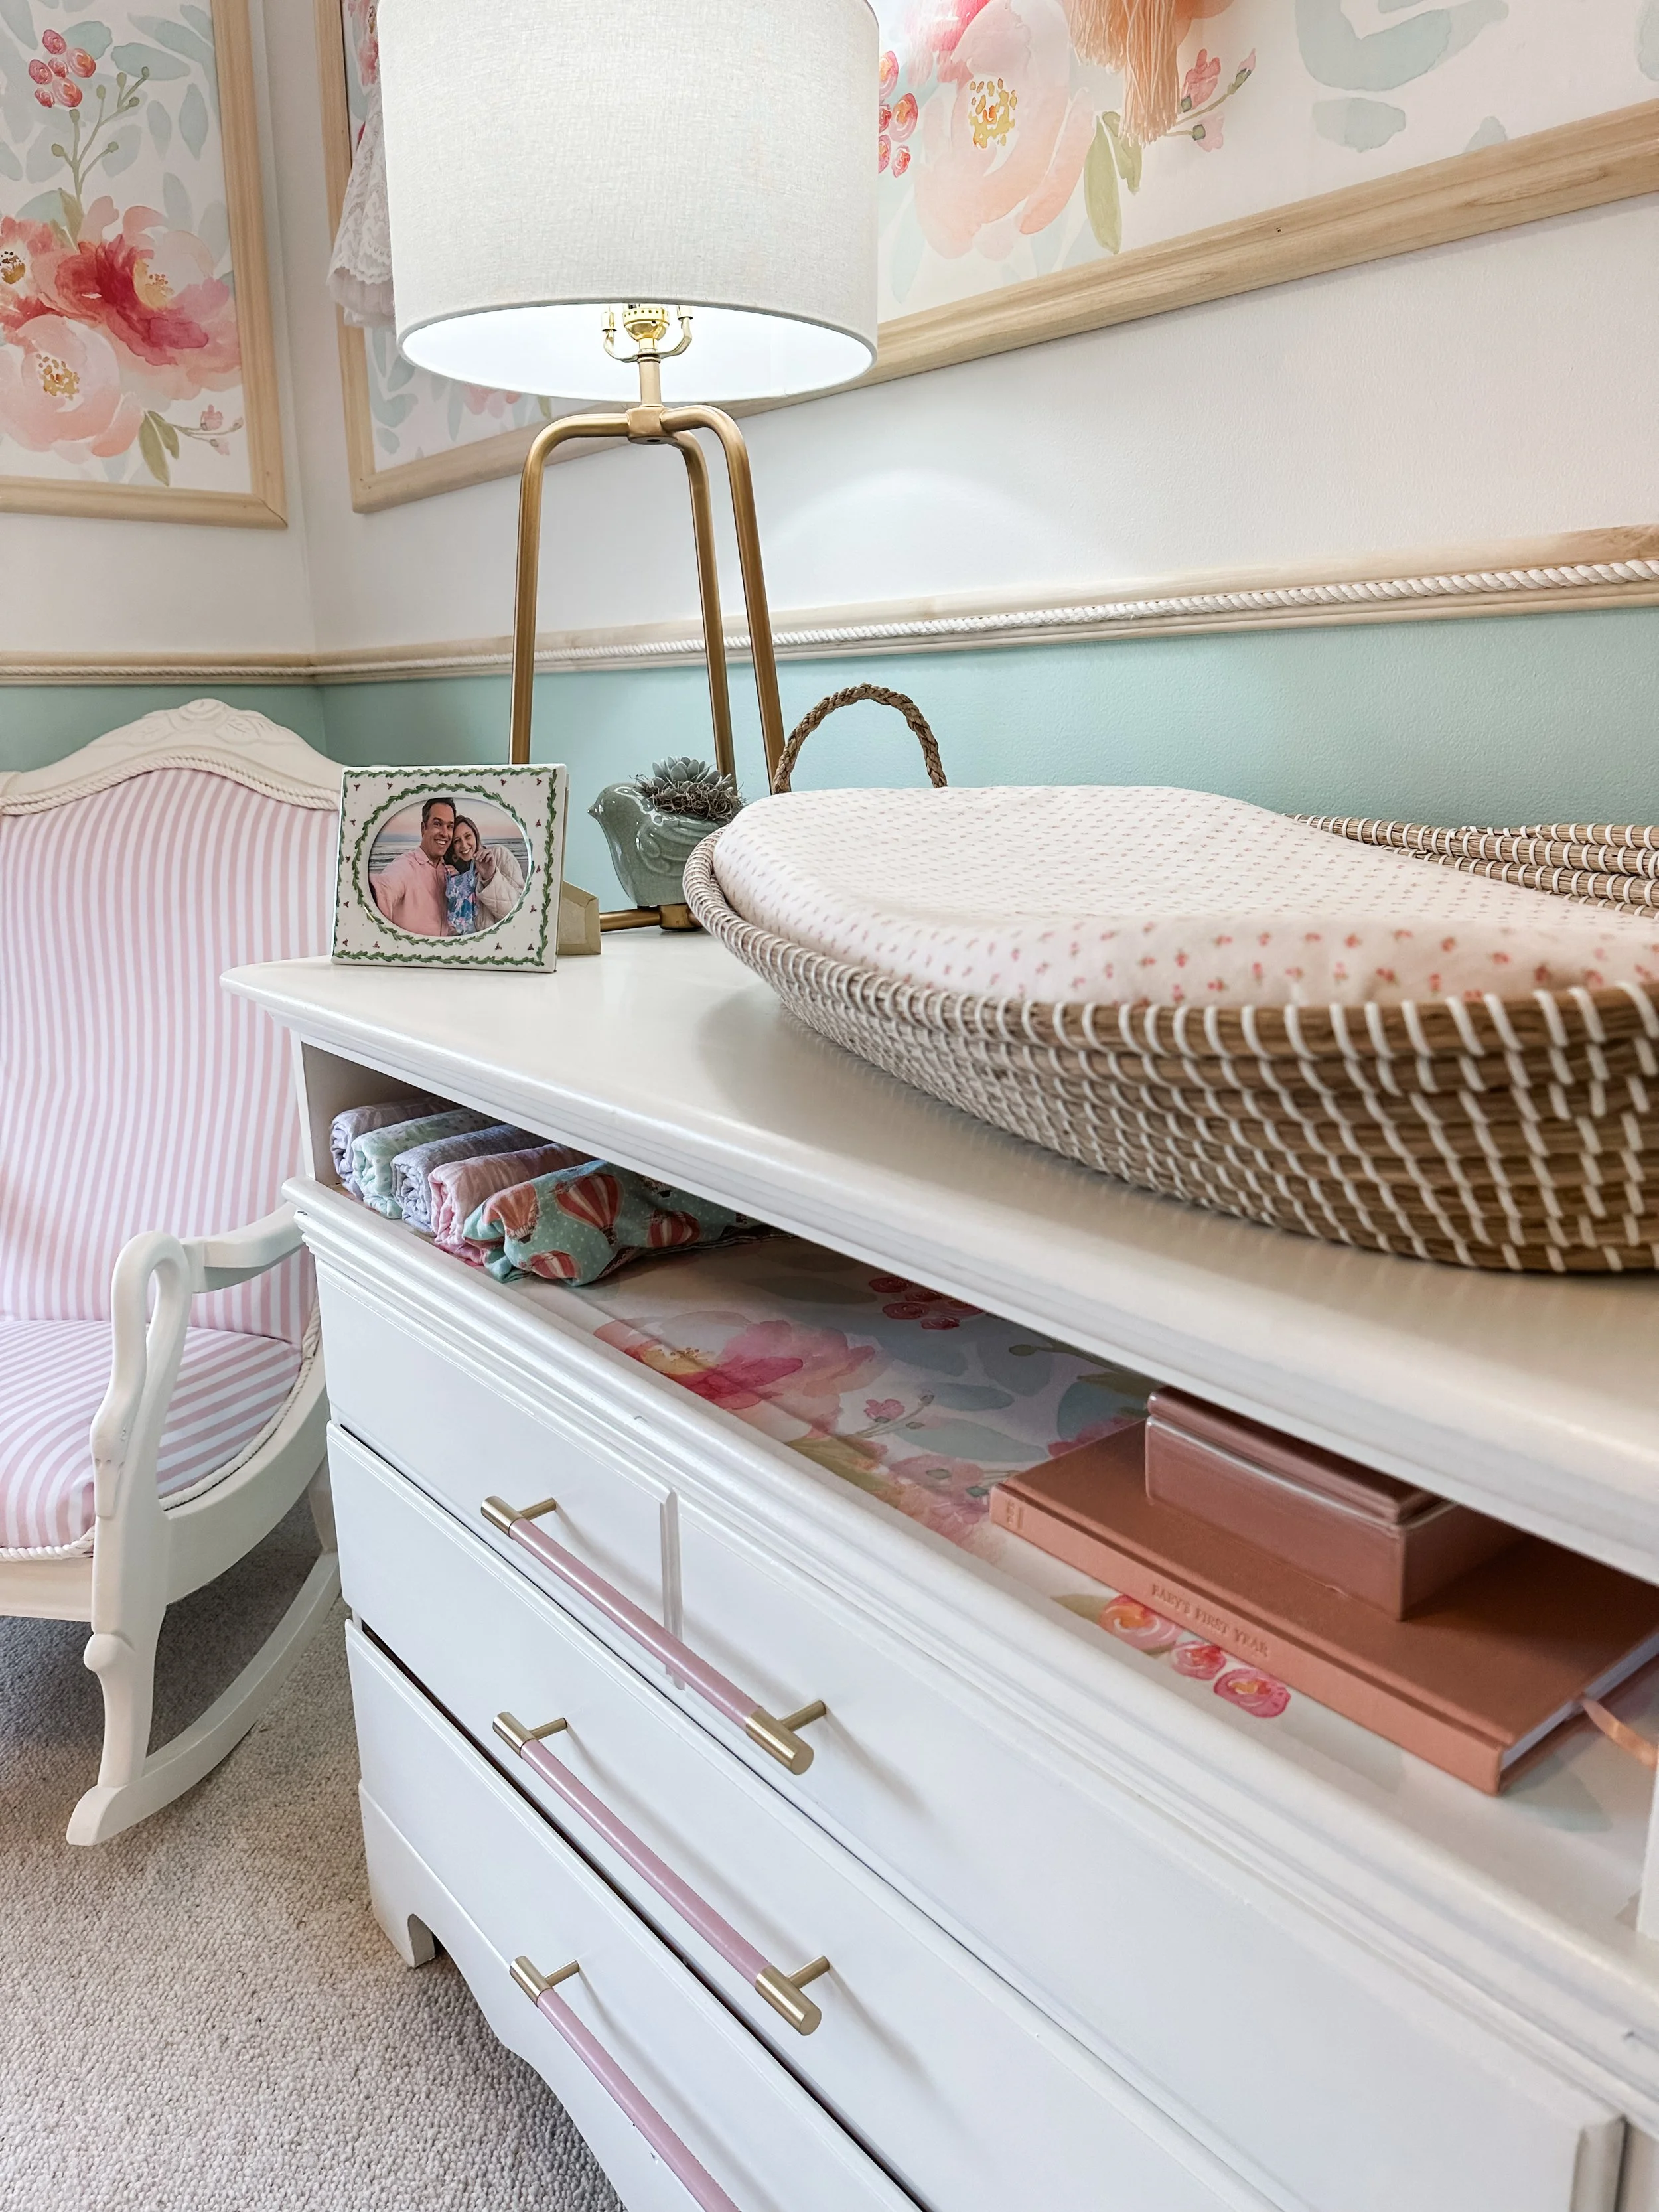
Now perfectly outfitted as a diaper changing station
Budget-Friendly Art & Accessories
For a space that is uniquely yours (or in this case, hers!)
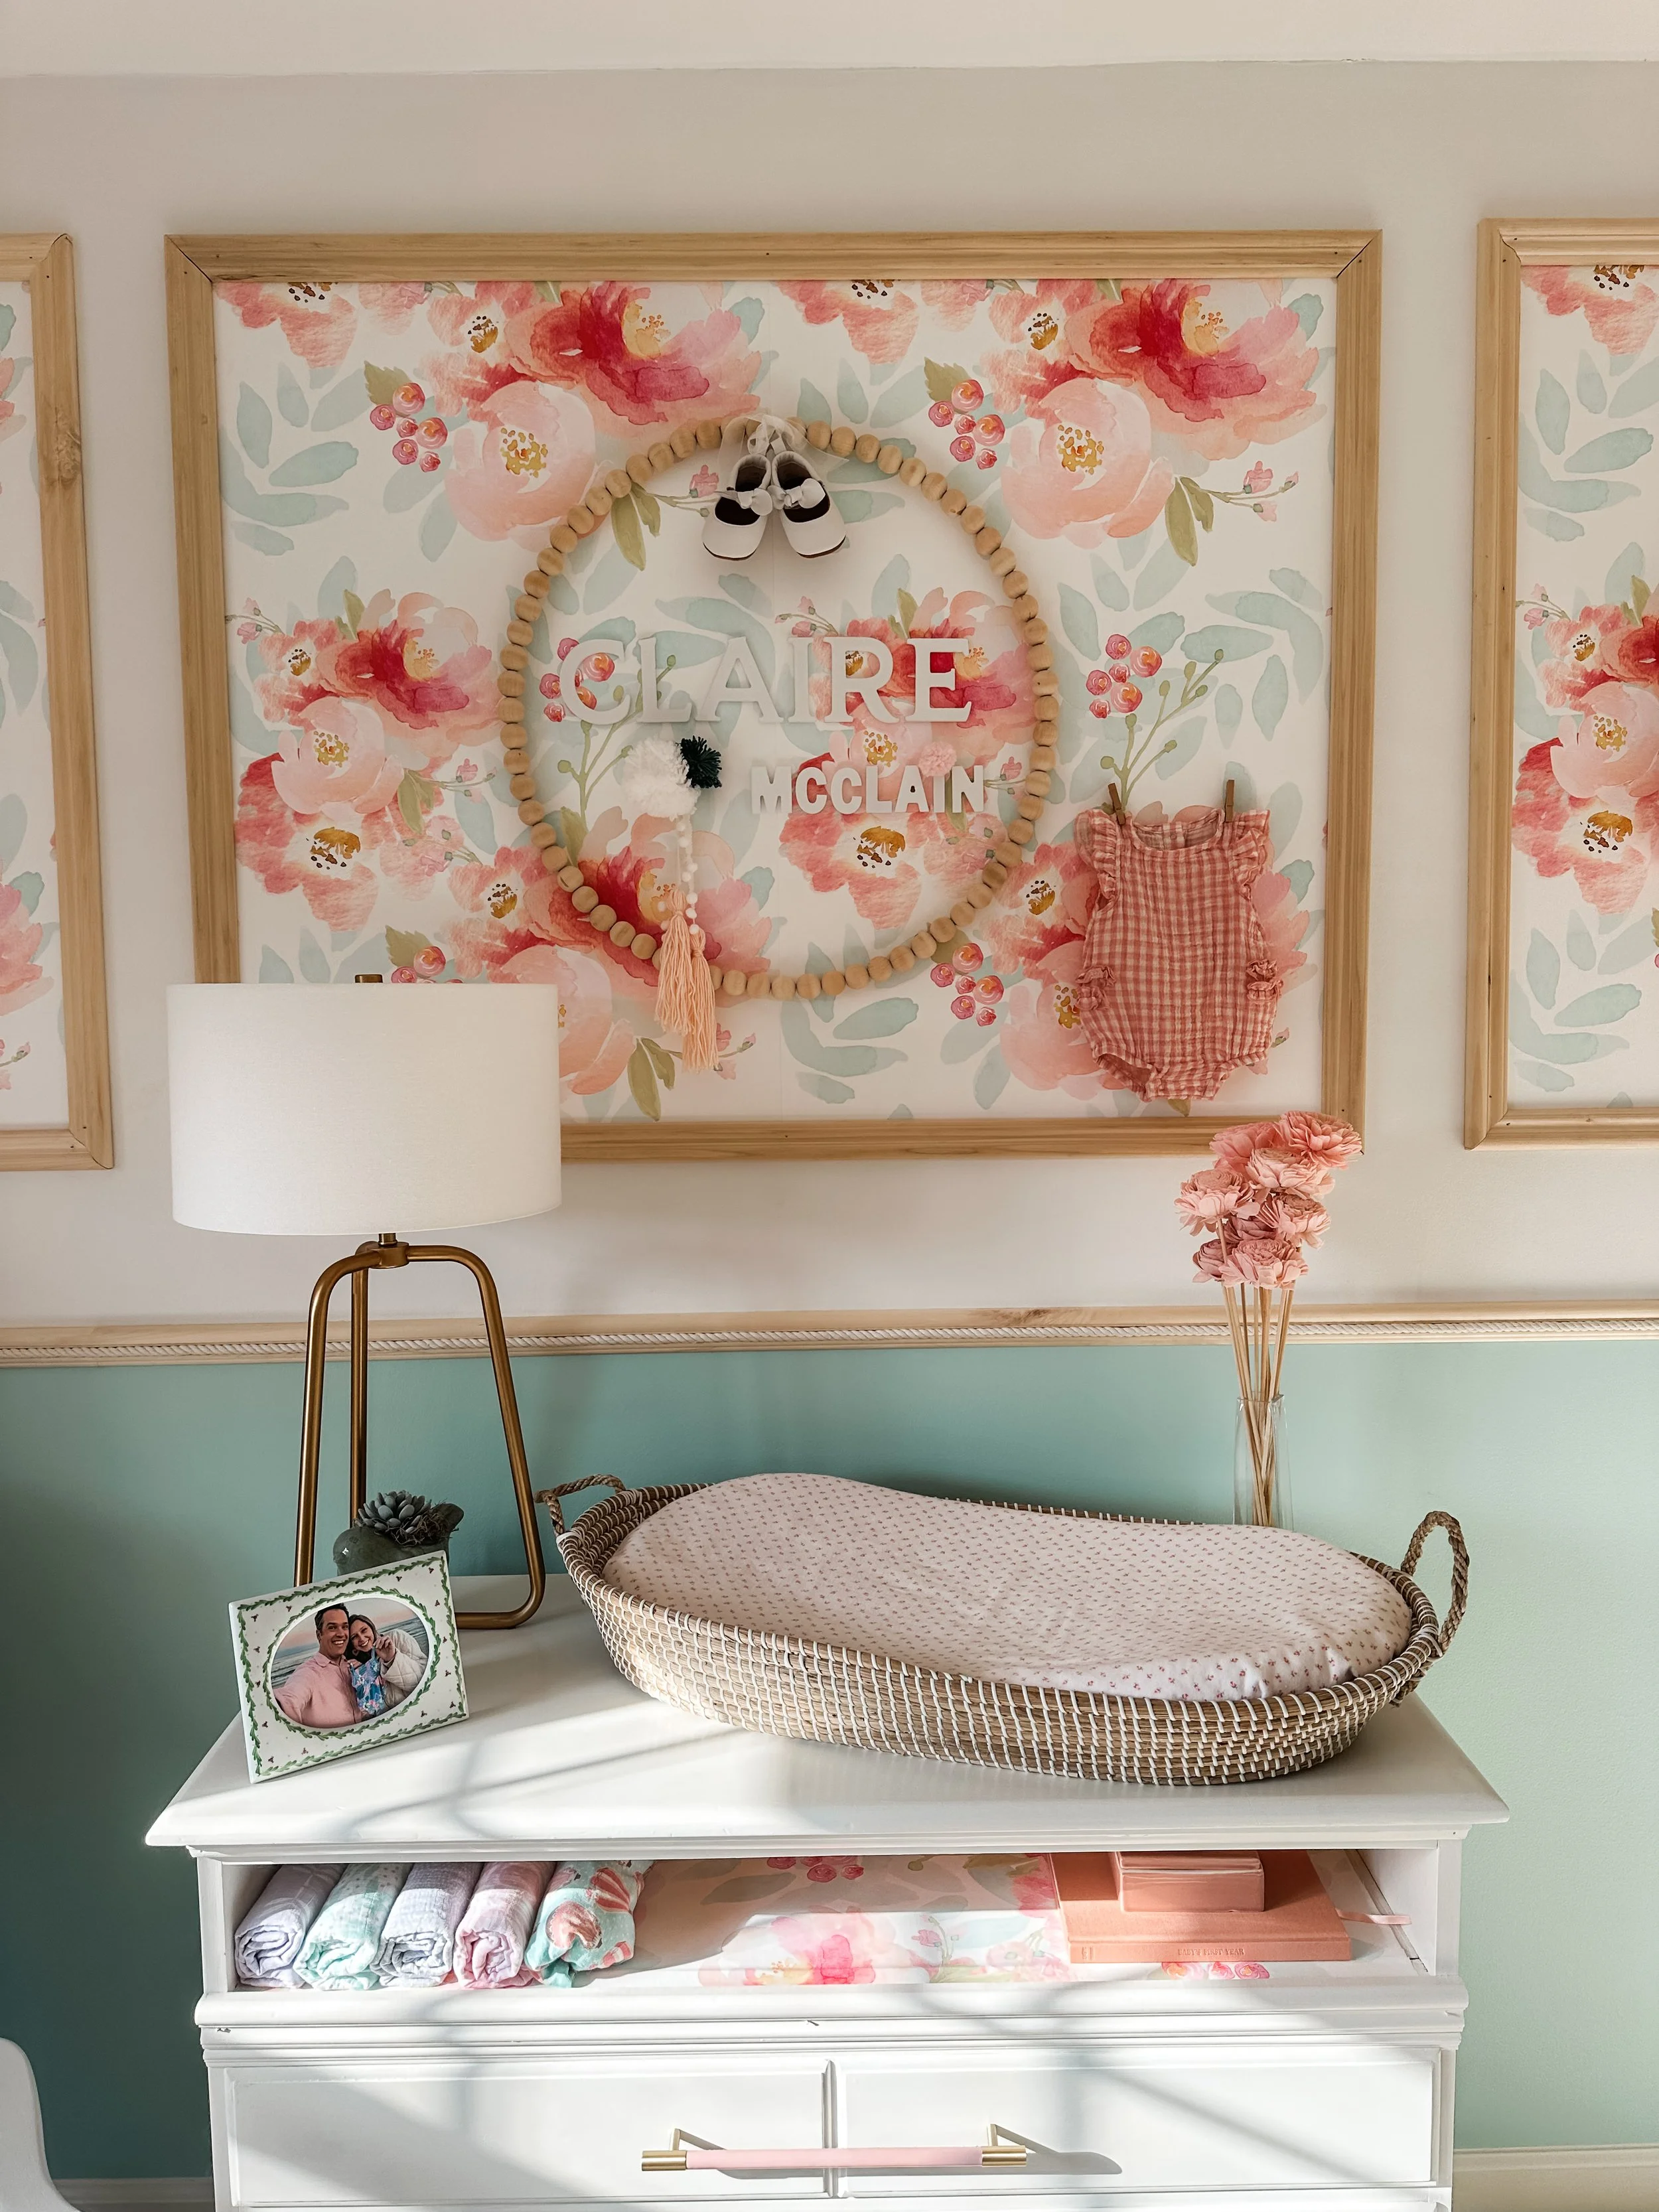
DIY Wooden Name Wreath using wooden craft letters and wreath form from Hobby Lobby
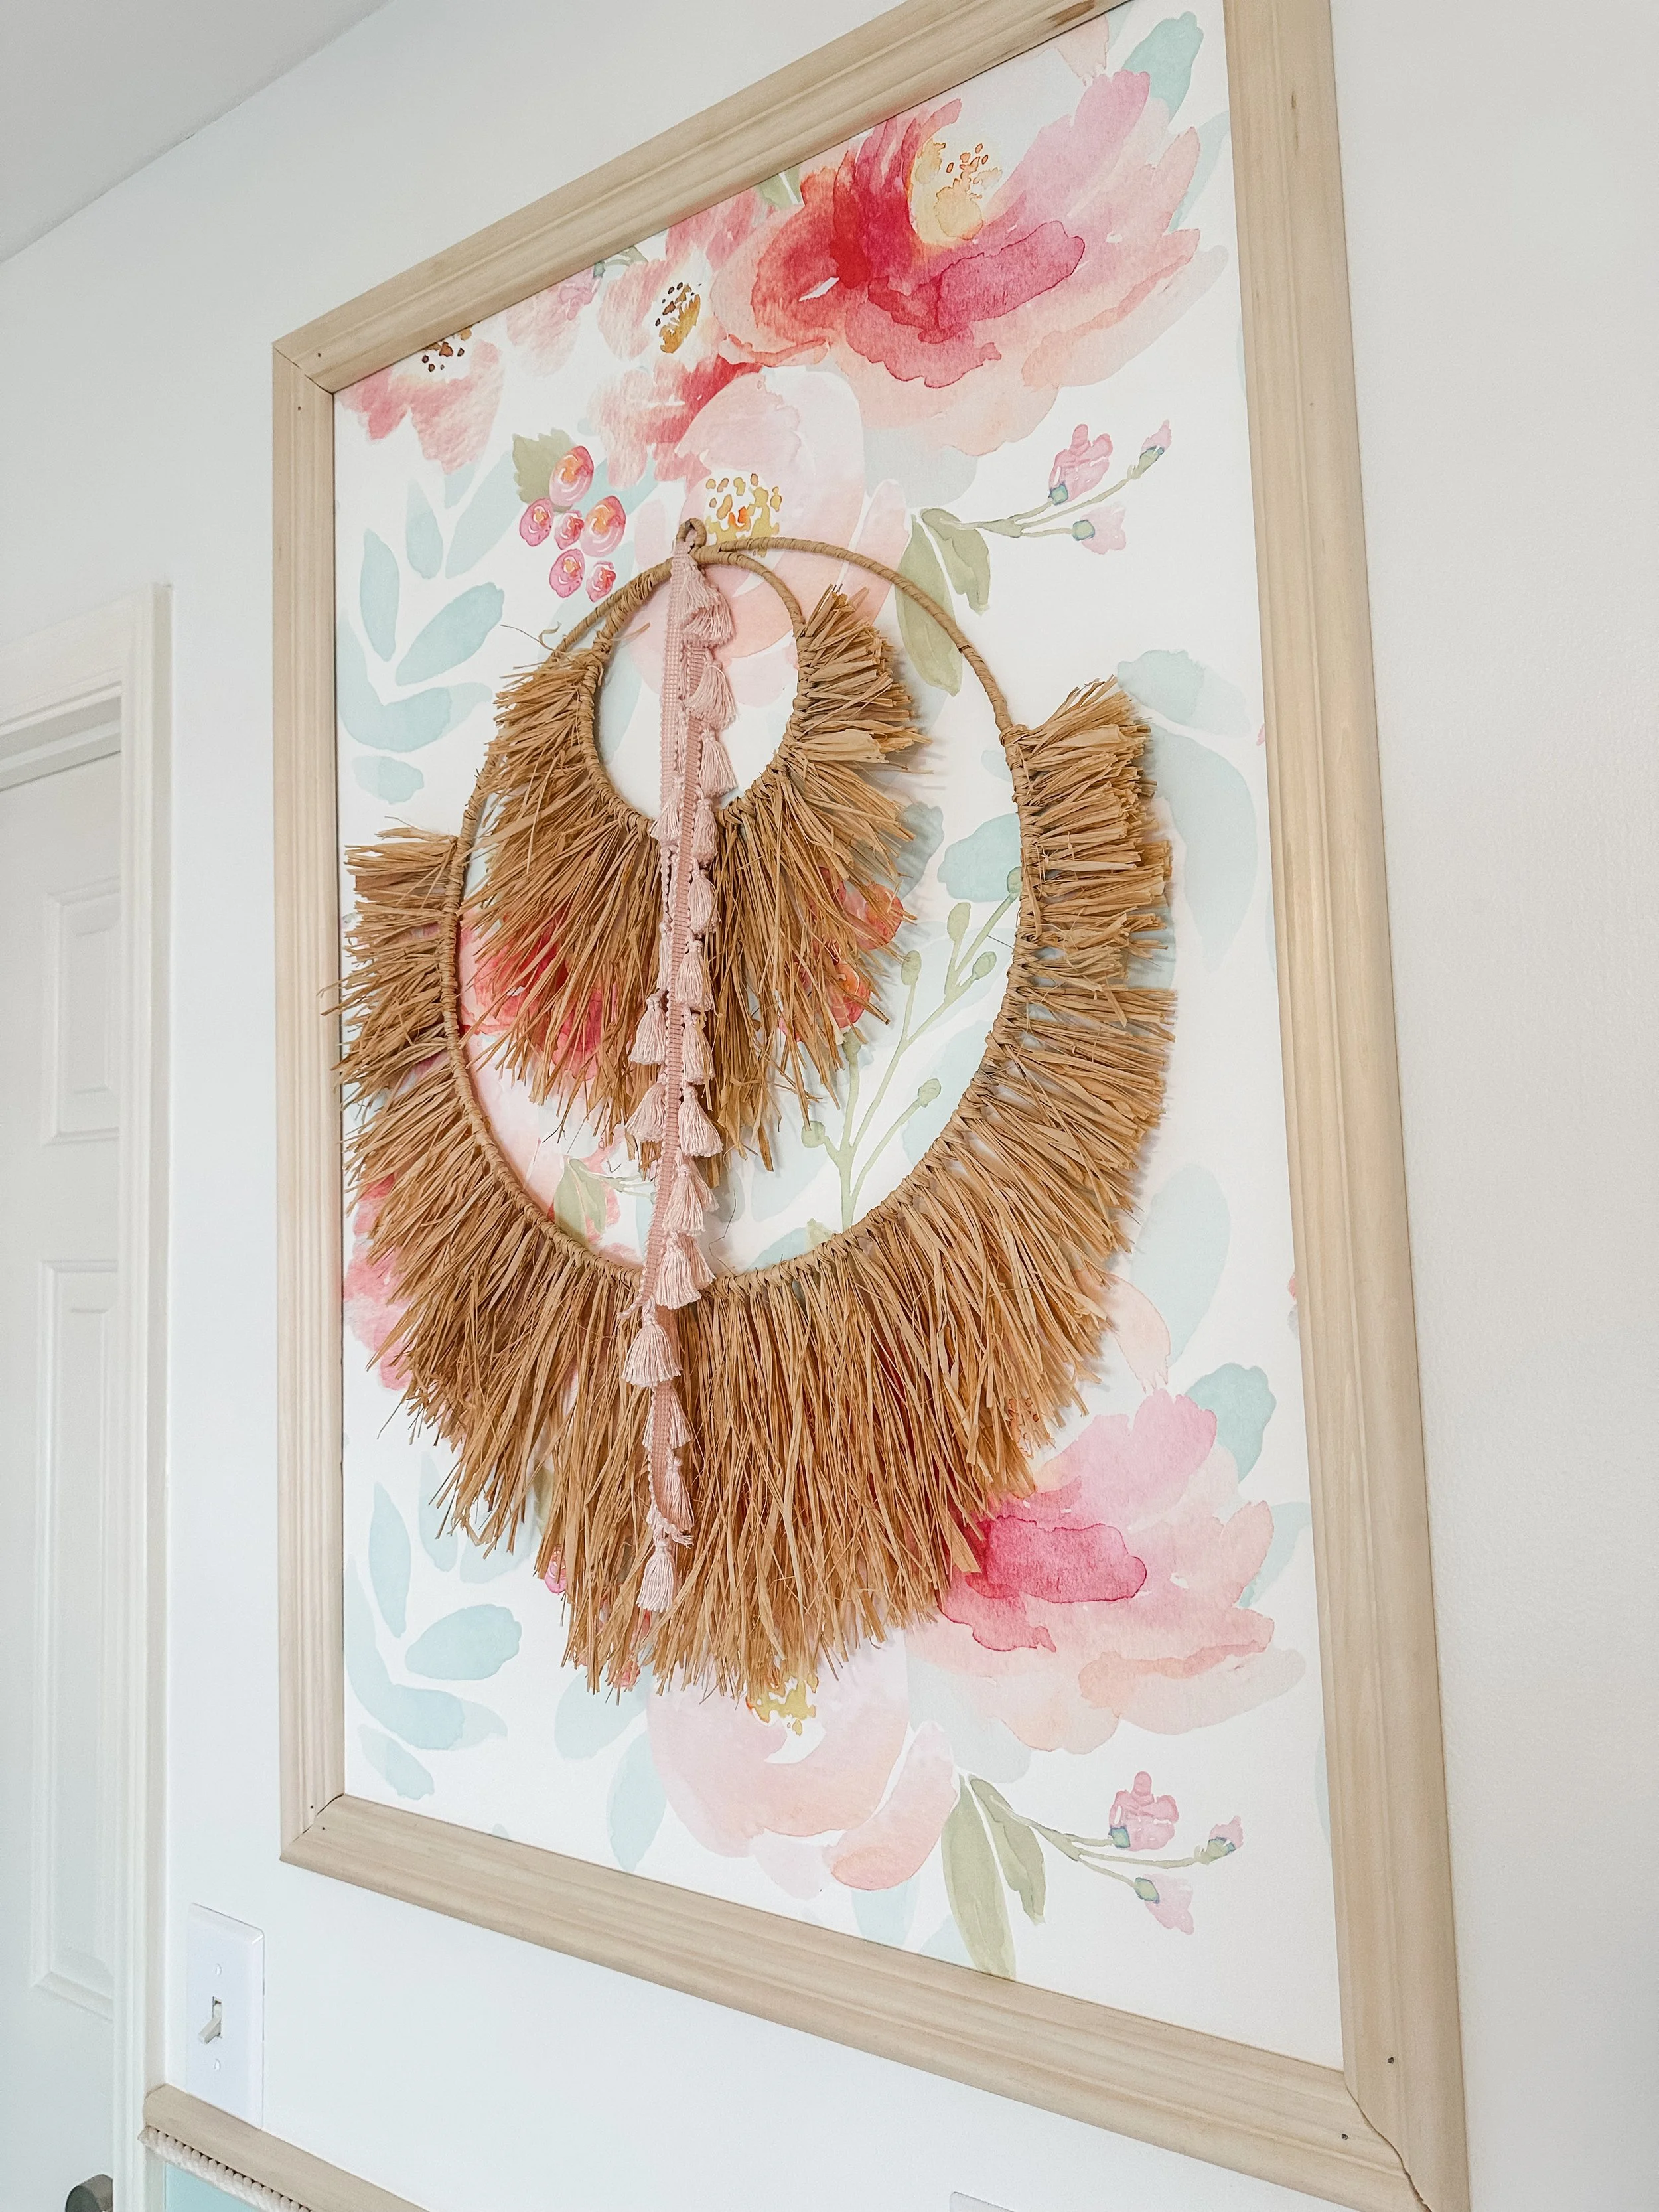
Add tassel trim for a simple update to a basic raffia wreath
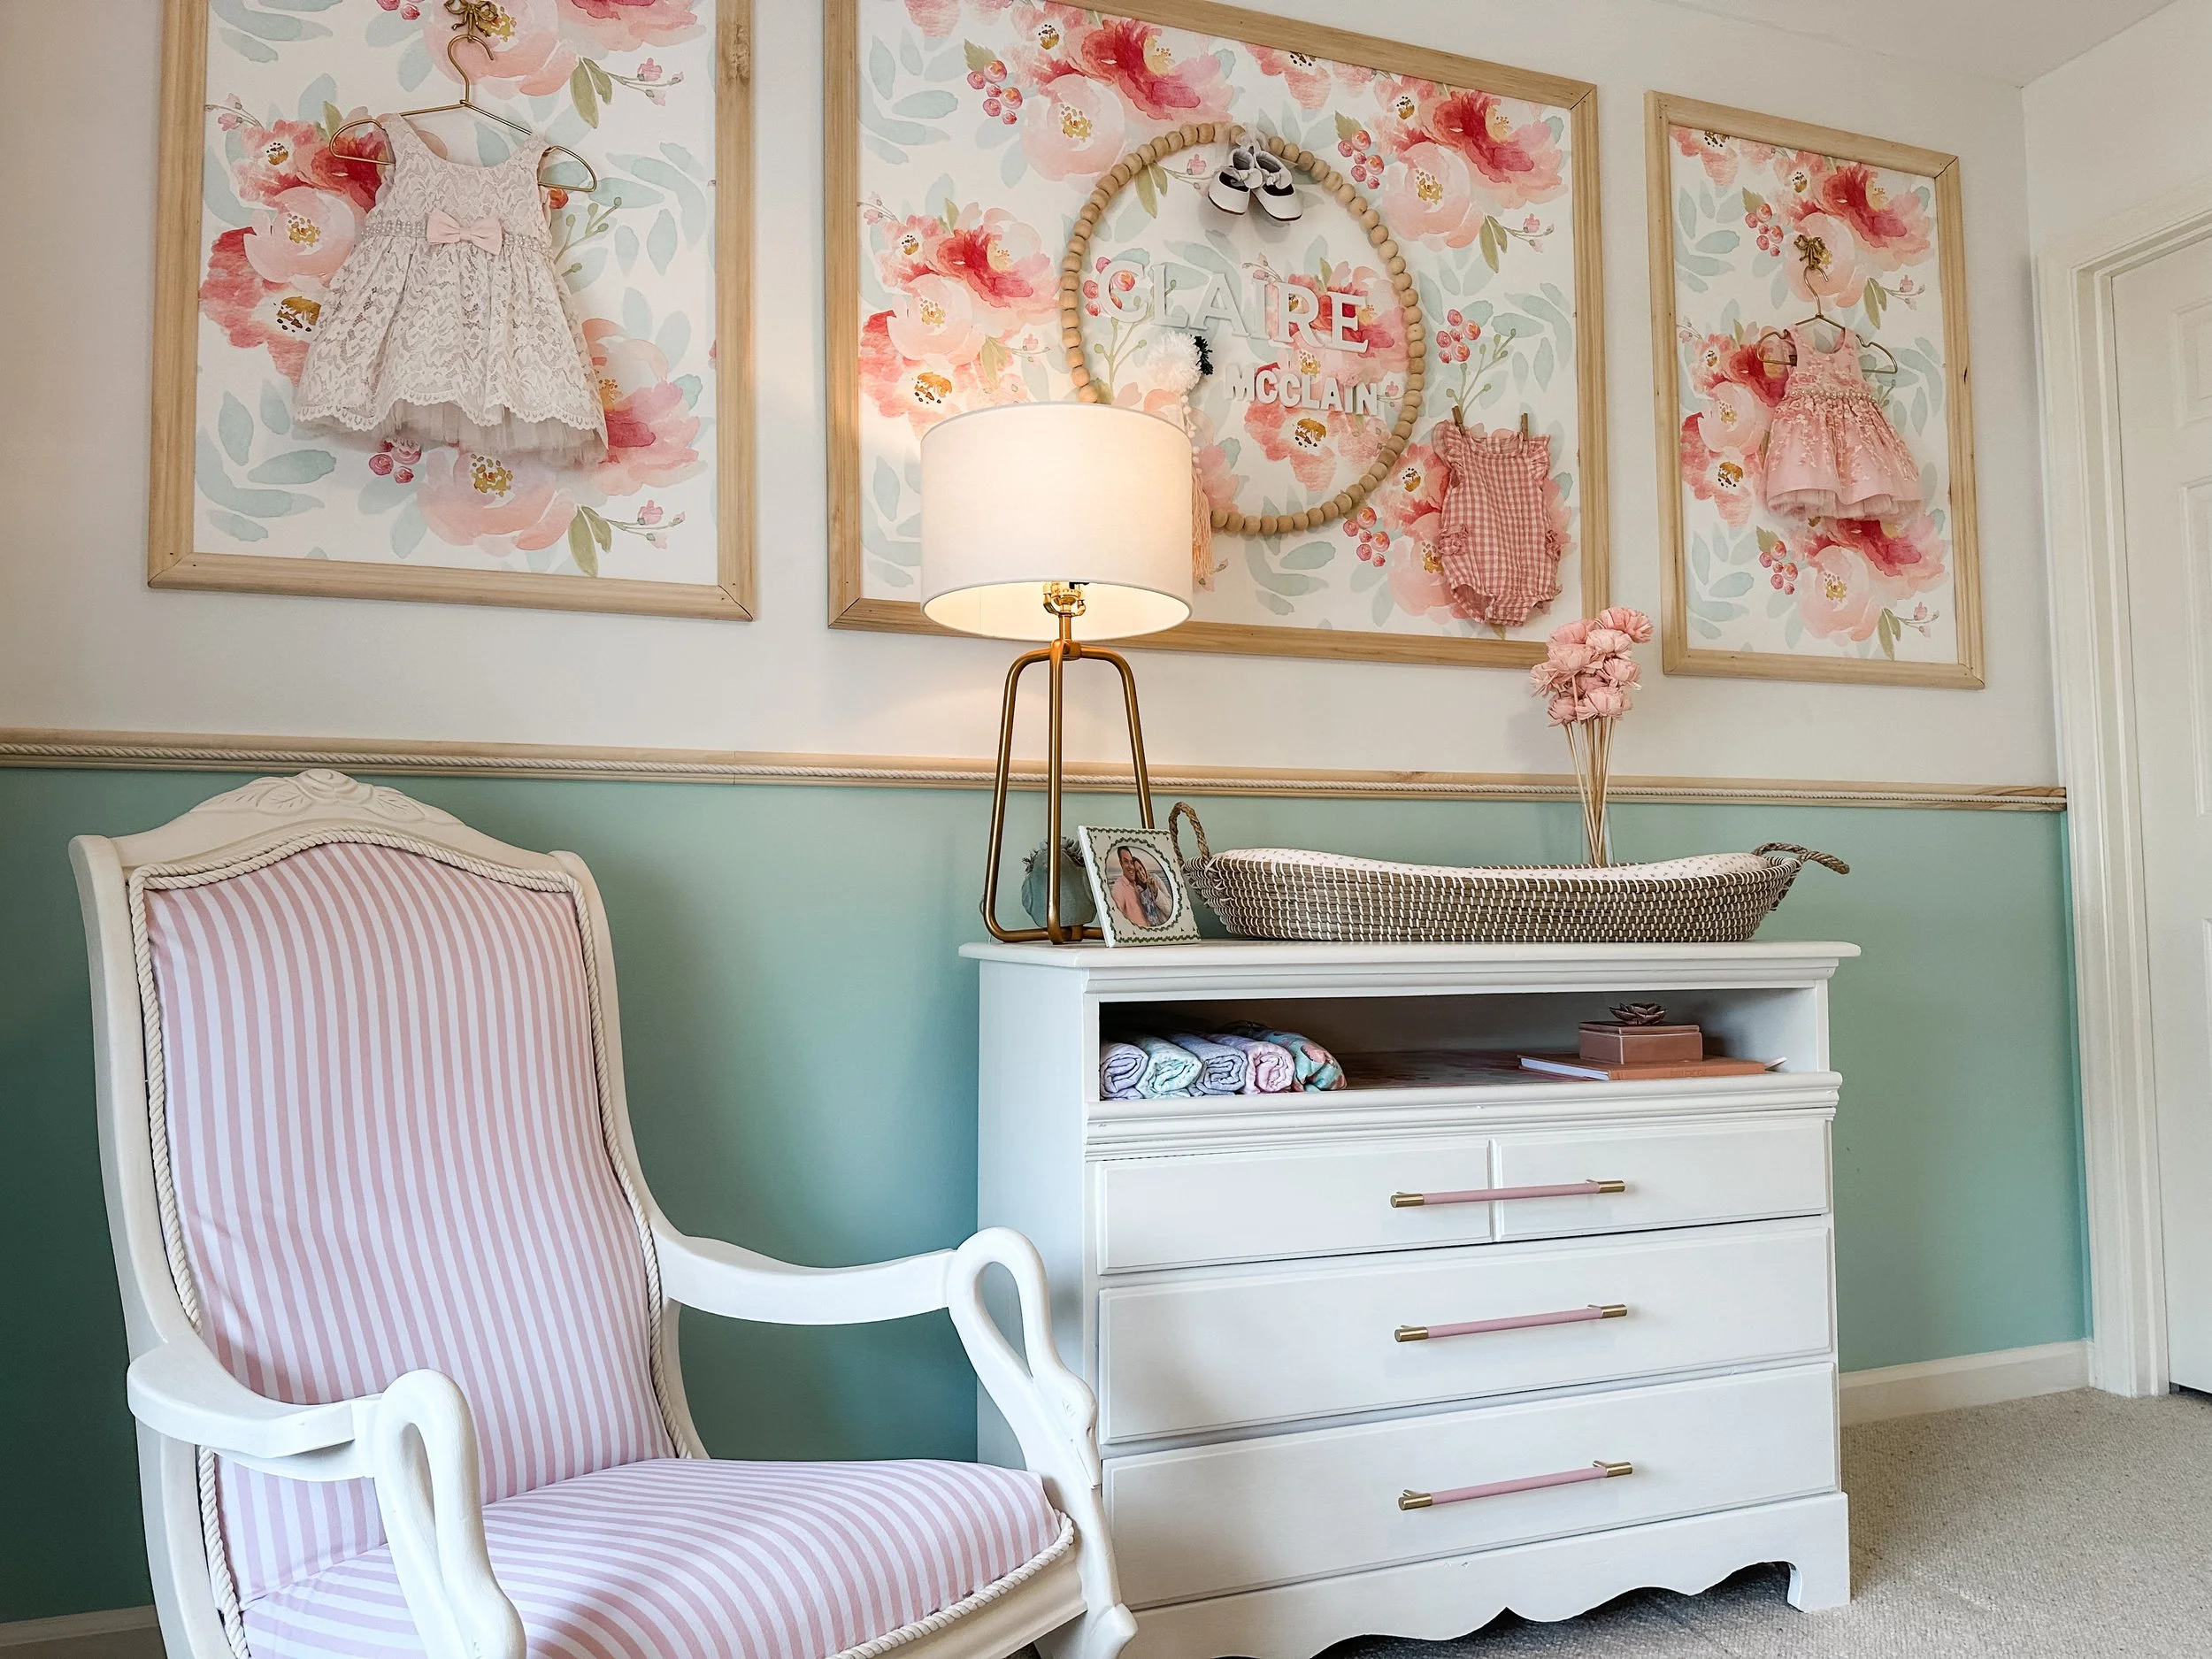
Hang those cute little outfits on gold hangers and they become wearable wall art

Anthro-Inspired DIY Crib Mobile using yarn & wooden beach wreath forms
And Now We Wait…
We are so ready to welcome our sweet little one when she arrives!
I am incredibly grateful for the One Room Challenge community for cheering me on and sharing in the joy of this exciting and oh-so-special time in our lives.
It made getting ready to welcome Baby Claire to our home a memory I will cherish always.
Until next time,